I started putting splicing instructions on this page to make up a shortfall in information that I had felt keenly while building our sailboat, Ganymede. Back then, core-dependent double braids were rather new and Dyneema only came in one flavor. Splicing instructions were hard to find, and often incomplete when located. Thanks to YouTube, you can now find video tutorials for nearly every sort of splice out there. While I still prefer the captioned slide shows that I began with here, after enough requests I’m trying my hand at videos as well. Hopefully I’ll get better at camera work as time goes by, and eventually I should have a video for every splice that’s commonly done these days, and maybe some less common.
Check out our ever growing library for more splicing instructions!
As with every aspect of the website, I’m open to comments and suggestions. Is something unclear? Is there a particular splice you want to see in video/slideshow/book form? I’d love to know about it and see what I can do, and maybe others won’t have to struggle to find information like I did when Ganymede was still a hull in a yard.
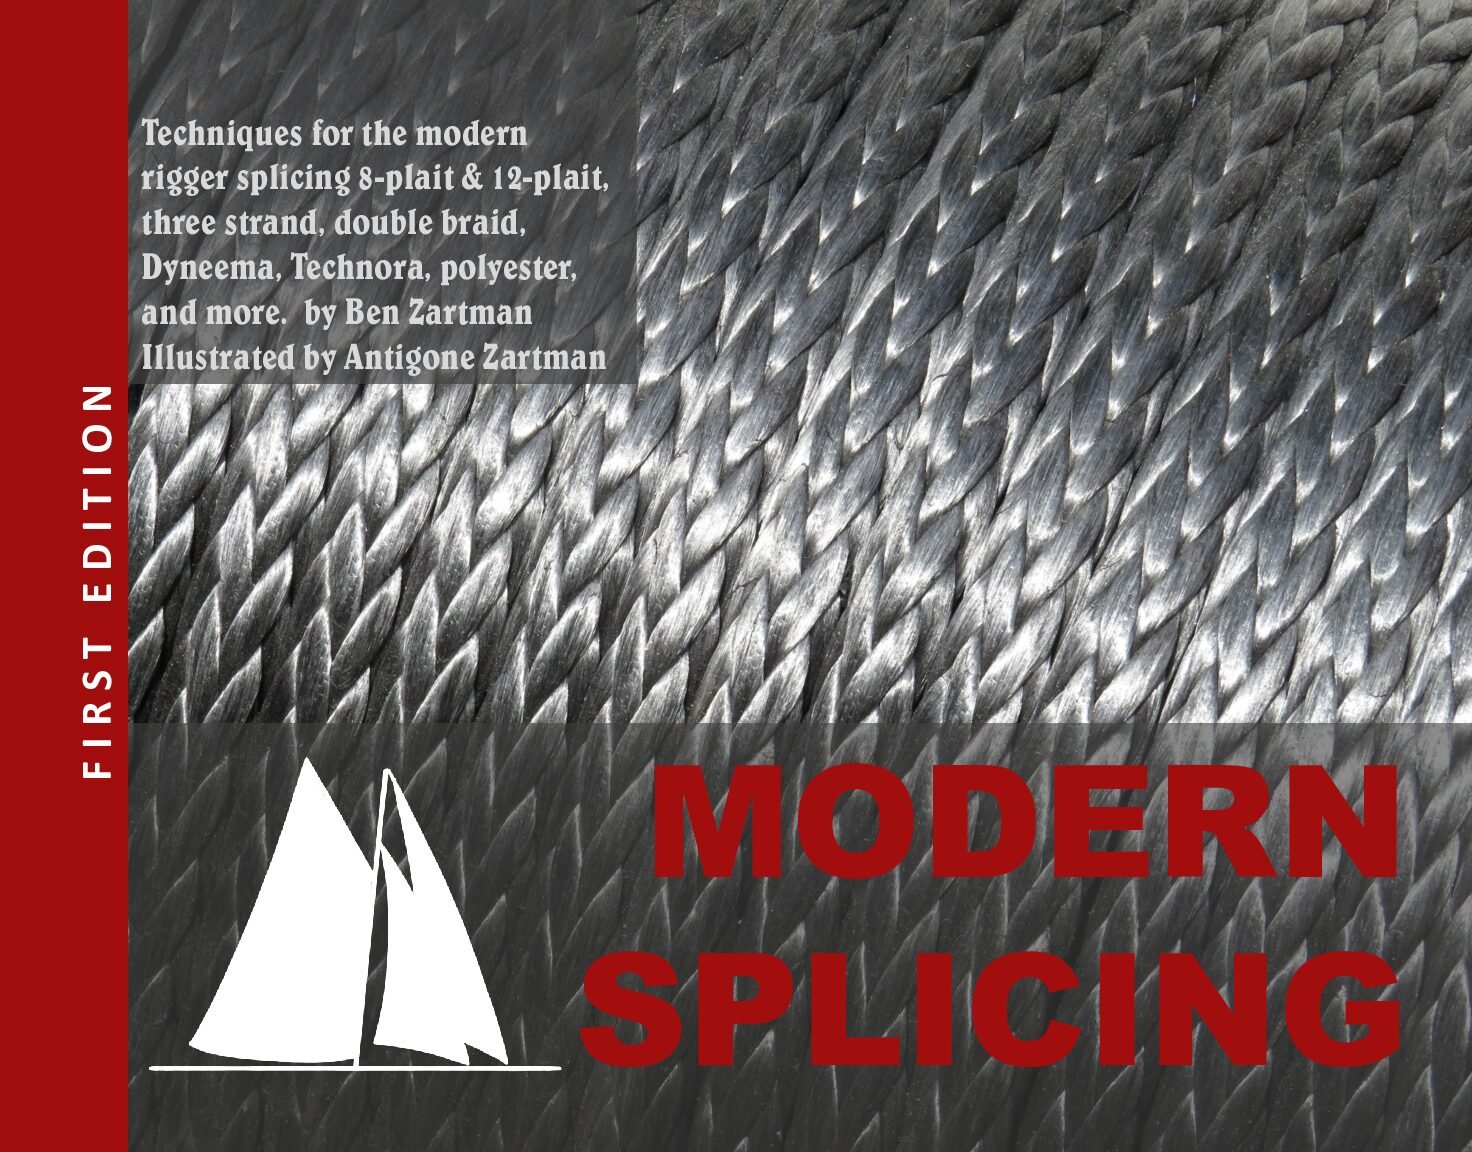
Another resource I’m excited to offer is a book, Modern Splicing, which my daughter Antigone and I wrote as a textbook for the rigging classes I teach at IYRS—the International Yacht Restoration School in Newport, RI. The first edition is available through the webstore on this site, and I hope in a few years to expand it into an exhaustive resource on the ropework of our times. Take a look inside:
The First Edition spiral bound sold out! Digital copies still available. Second edition is coming soon! This brief manual of splicing techniques was compiled as a textbook of sorts for a live splicing and ropework class at the International Yacht Restoration School in Newport. While covering basic techniques in 3-strand and various solid-plait ropes, it goes into more depth with modern core-dependent ropes, 12-strand high-modulus ropes, and loops and strops, both plain and covered. Anyone who wants to improve their Dyneema splicing game will find this a useful resource, and the DIY sailor will find everything here for doing any…
Another accident of giving splicing lessons was the development of a simple kit of tools suitable for the classes—while every DIY rigger will have all sorts of tools cobbled from different places, I needed to come up with a collection the students could use so we would all be on the same page with the same method. It’s easy enough to bend a piece of stainless steel welding wire in half to make a pullfid, but I have added value (I hope) with some elegant hand-turned hardwood handles. The stainless steel and Titanium picker fids were born of my frustration with existing alloy ones that if not sized wrong, tended to corrode in the boat’s locker. The fid-gauge tape saves a lot of time otherwise spent consulting a chart and remembering measurements. Many of the tools seen in the videos, slide shows, and the book, are available for sale on the webstore, both individually and as parts of various kits.

What sort of tools you need will depend largely on what kind of splicing you plan to do. At minimum, a picker fid which can double as a marlinspike will probably be in your hand more than anything else. A ceramic knife and/or micro-serrated scissors are essential. Though I spliced for years without pullfids, I can’t imagine life now without them, and they are indispensable for certain things.
Moving past those most basic tools, a set of fids such as Yale’s professional splicing kit really comes in handy, especially when working with bigger double braids, and sliding long bits of rope cover around. A couple of hardwood drift pins to keep knots from jamming are handy. Sharpies, rulers, tape, a sail palm, and a nylon-headed hammer will see daily use as well. Parallel pliers such as made for fishing are the best for pulling needles—I like the Manley brand best. A hotknife is nice to have on the bench, and a windproof electric arc lighter is great in the field.