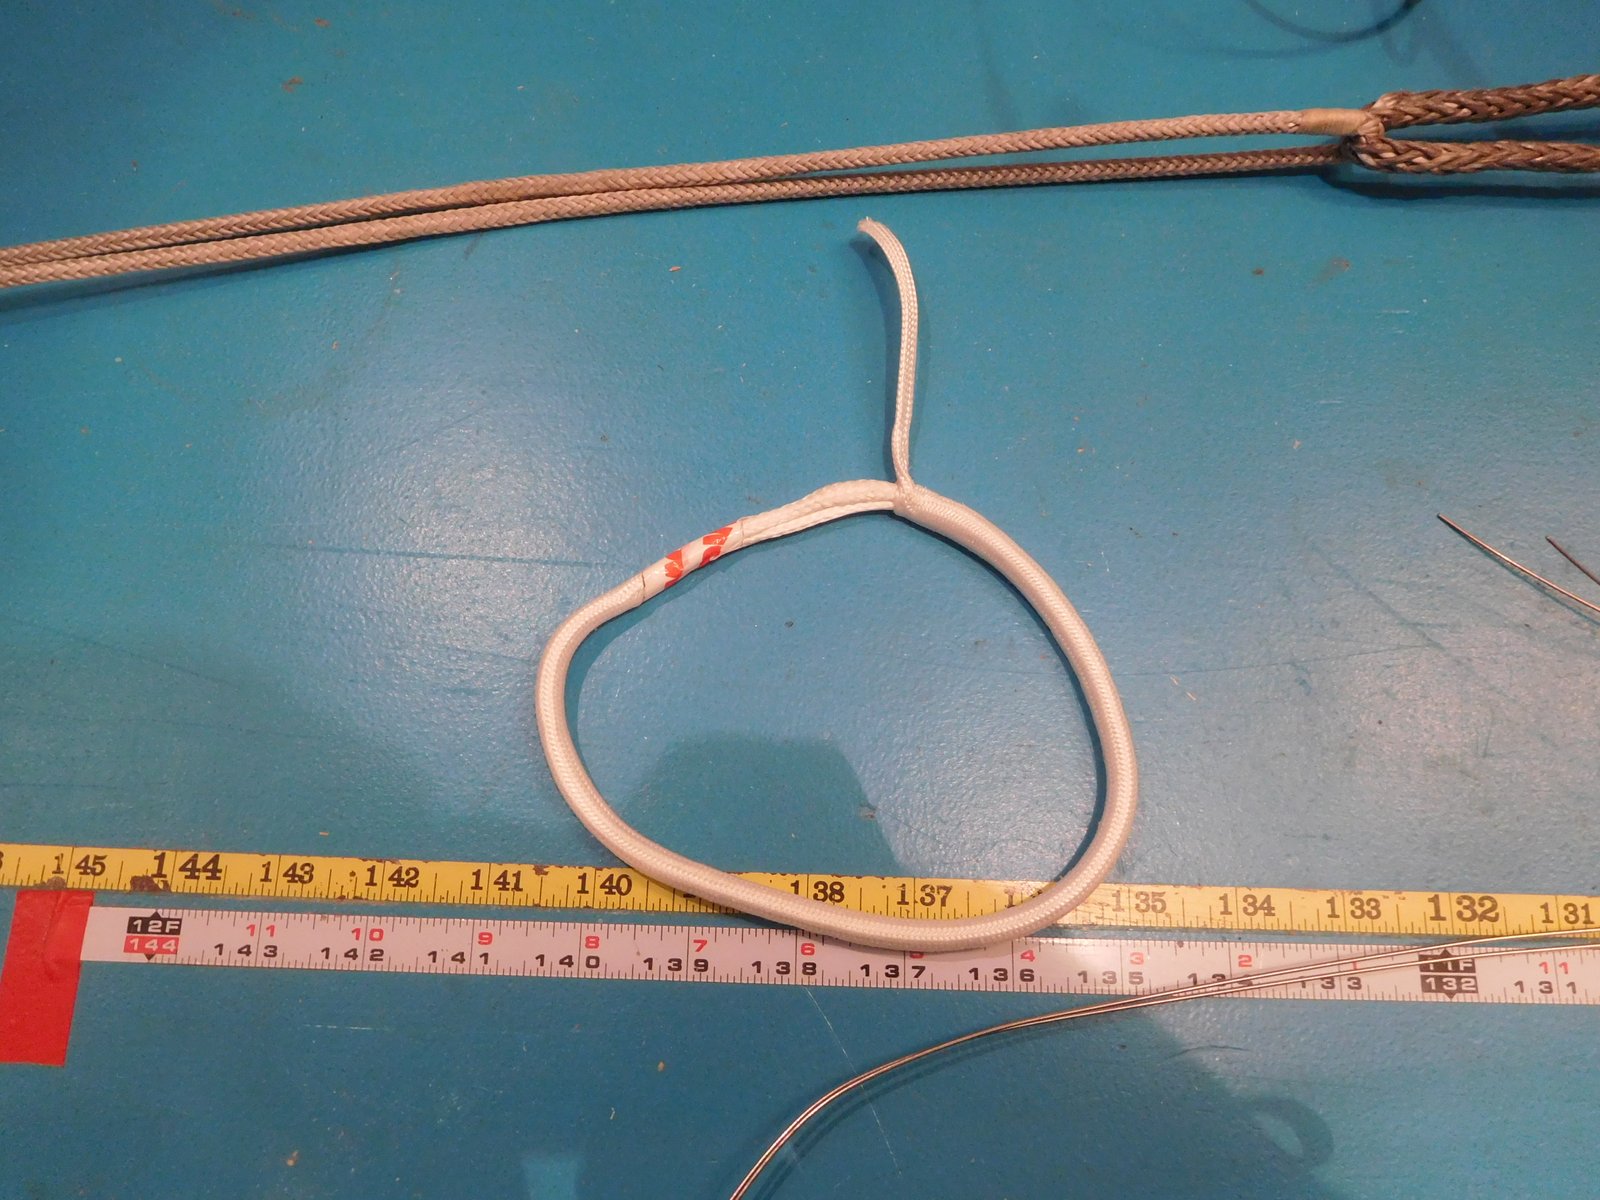
Here’s the long-awaited instructions for a covered Dyneema loop. Multiple-pass loops have existed time out of mind as “Selvagees;” here’s how to put a Dyneema selvagee (or any other material you like) into a cover. Dyneema covers are available now in all sizes, from 1/8″ to 1 1/2″ with variations across several manufacturers. There are also covers made from Technora, and polyester cover stripped off any rope can be used as well. I often make friction-knot loops out of technora/polyester blend cover scraps left over from splicing halyard ends.
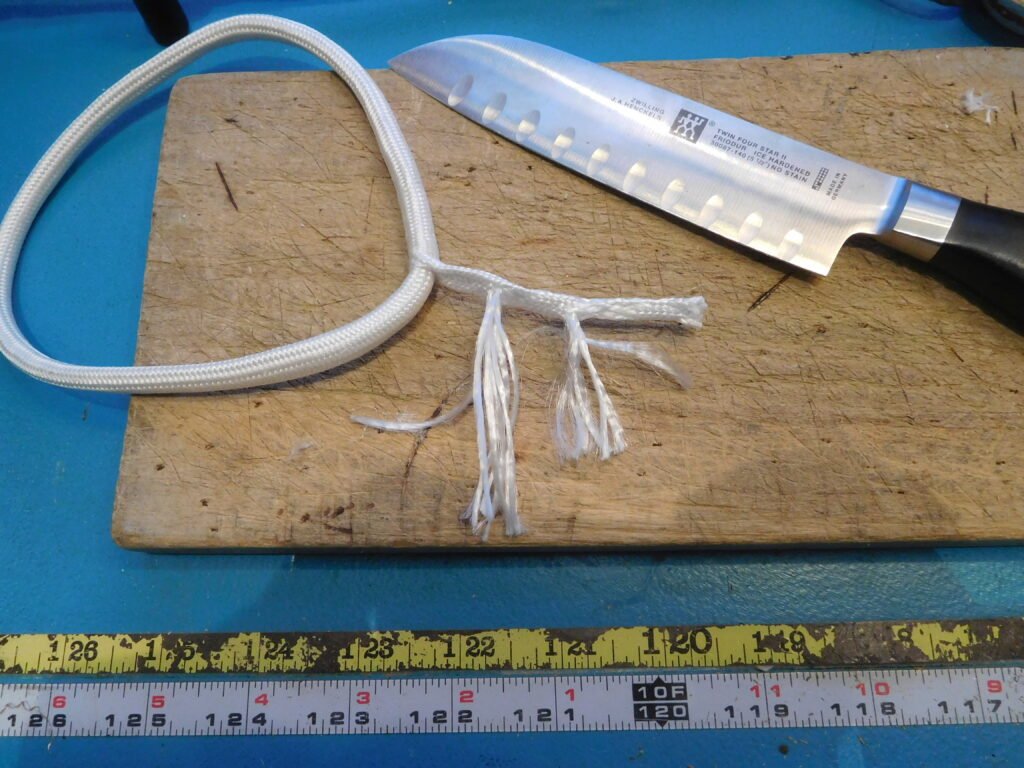
The material pictured is Marlow’s SK99 D16 Lashline: it’s a sixteen-carrier silicone-coated material designed specifically for this application. The silicone helps the strands all slide around till they’re pulling evenly. Marlow appears to be the only maker of this specific line, which excels all others for this purpose. Of course these can be made with any 12-stand Dyneema, but the Lashline really is the best so far. The cover is Marlow as well, a 32-pick 3/16″ hollow sleeve that comes in black or white.
At the end you will find two alternate methods of loop closure, giving a total of three options, depending on your level of OCD.
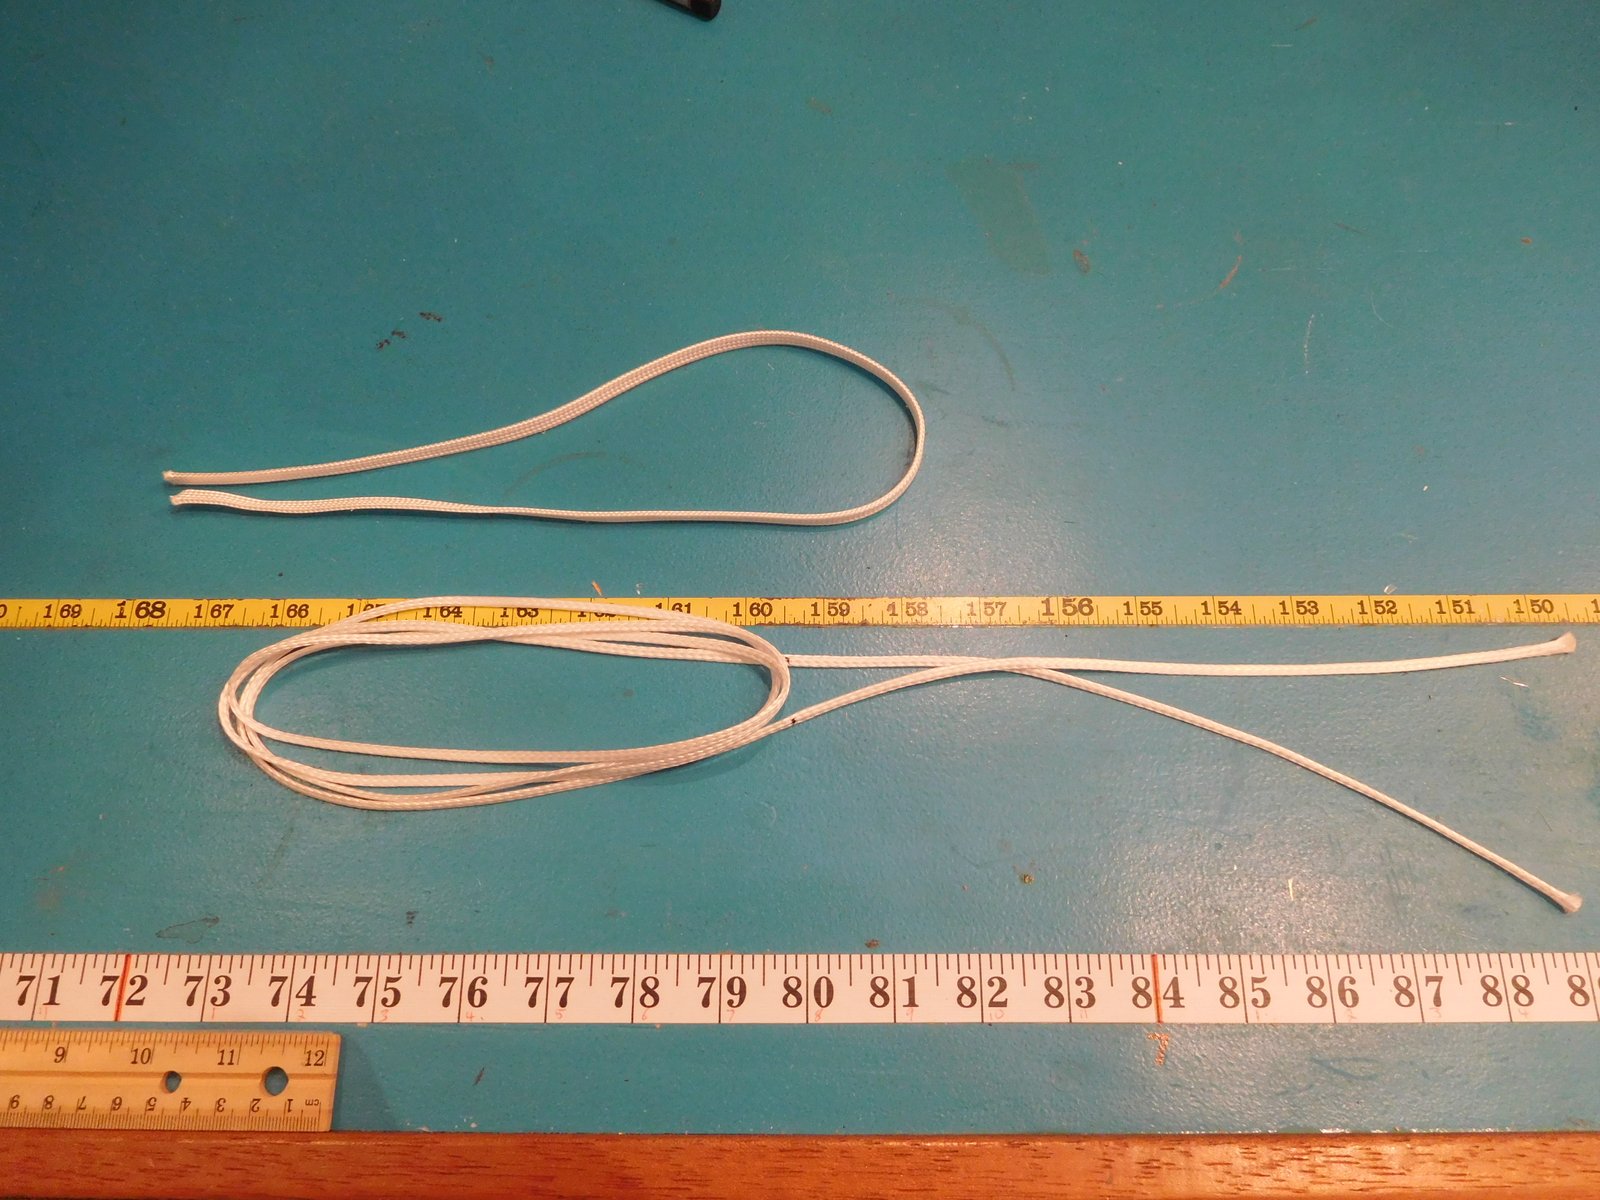
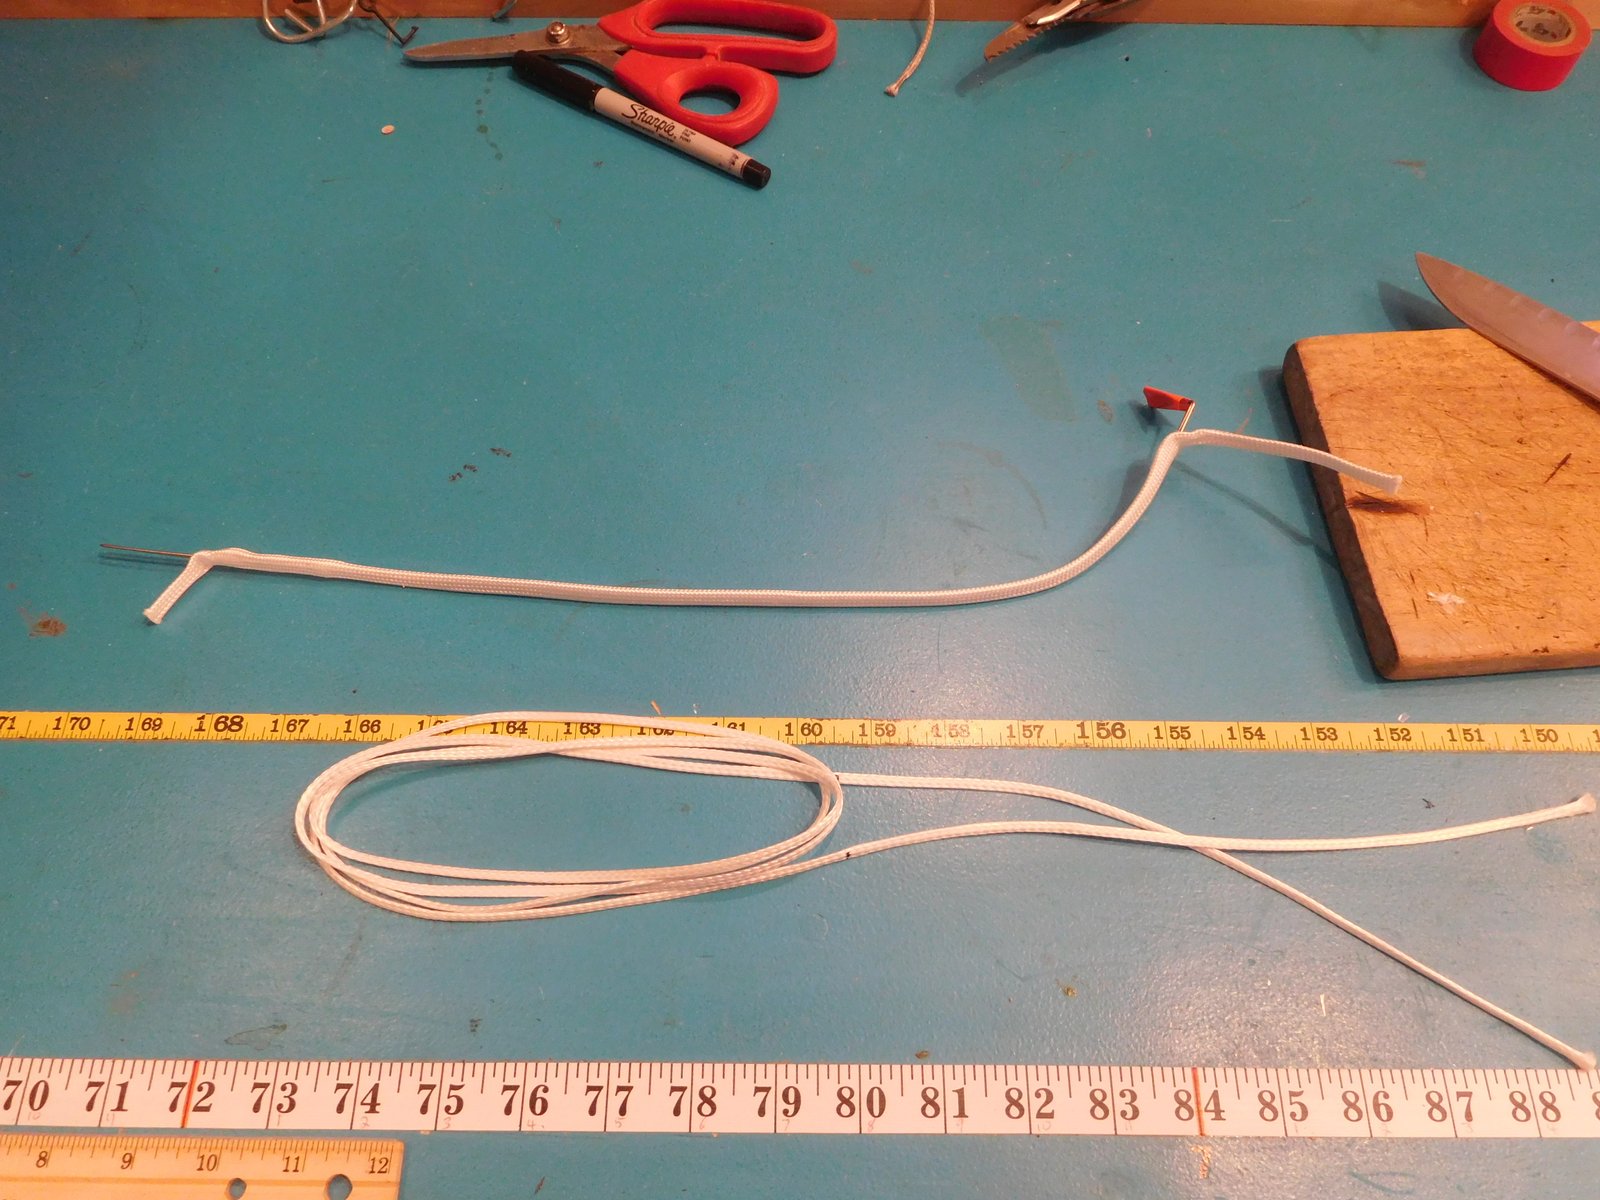
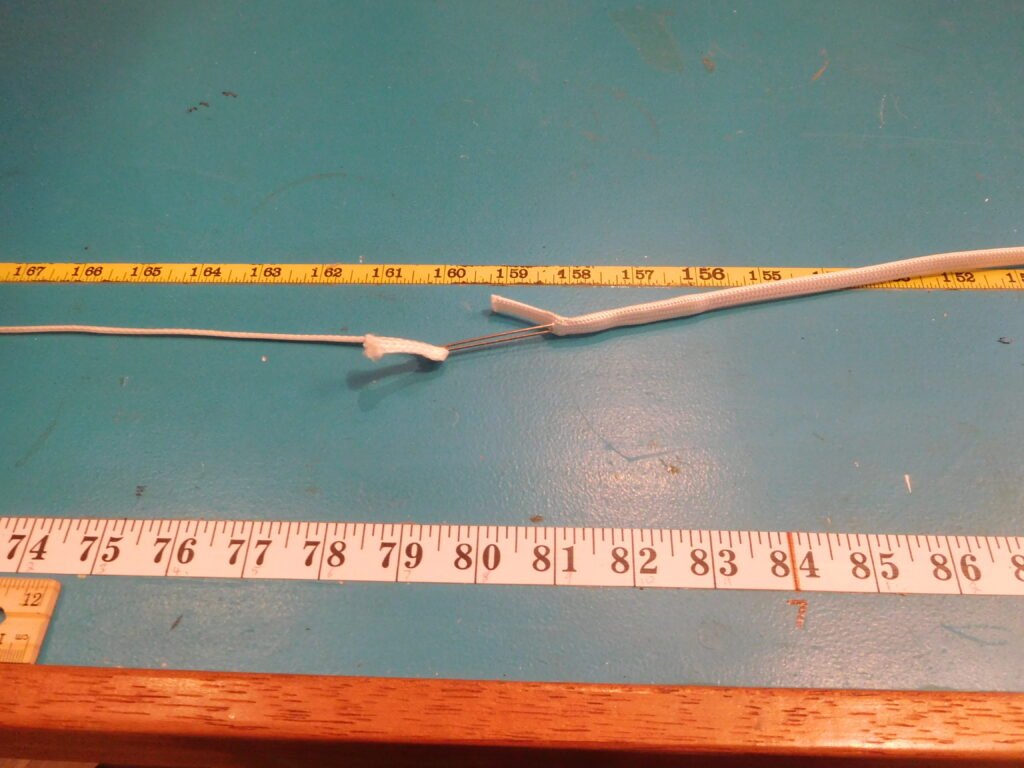
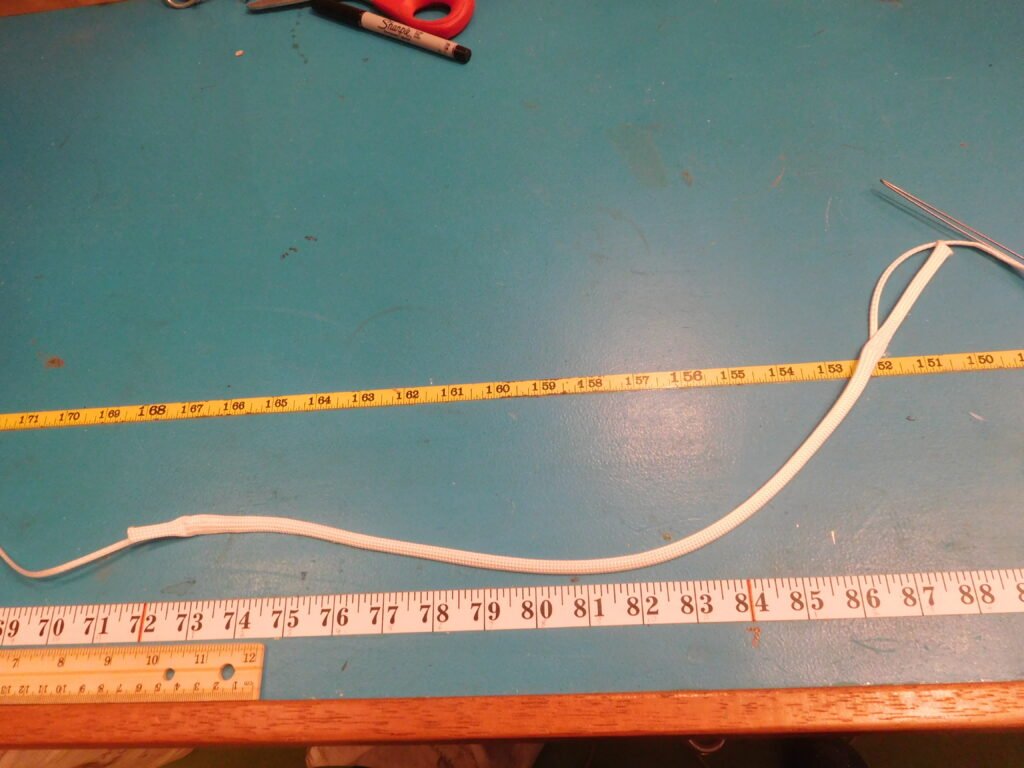
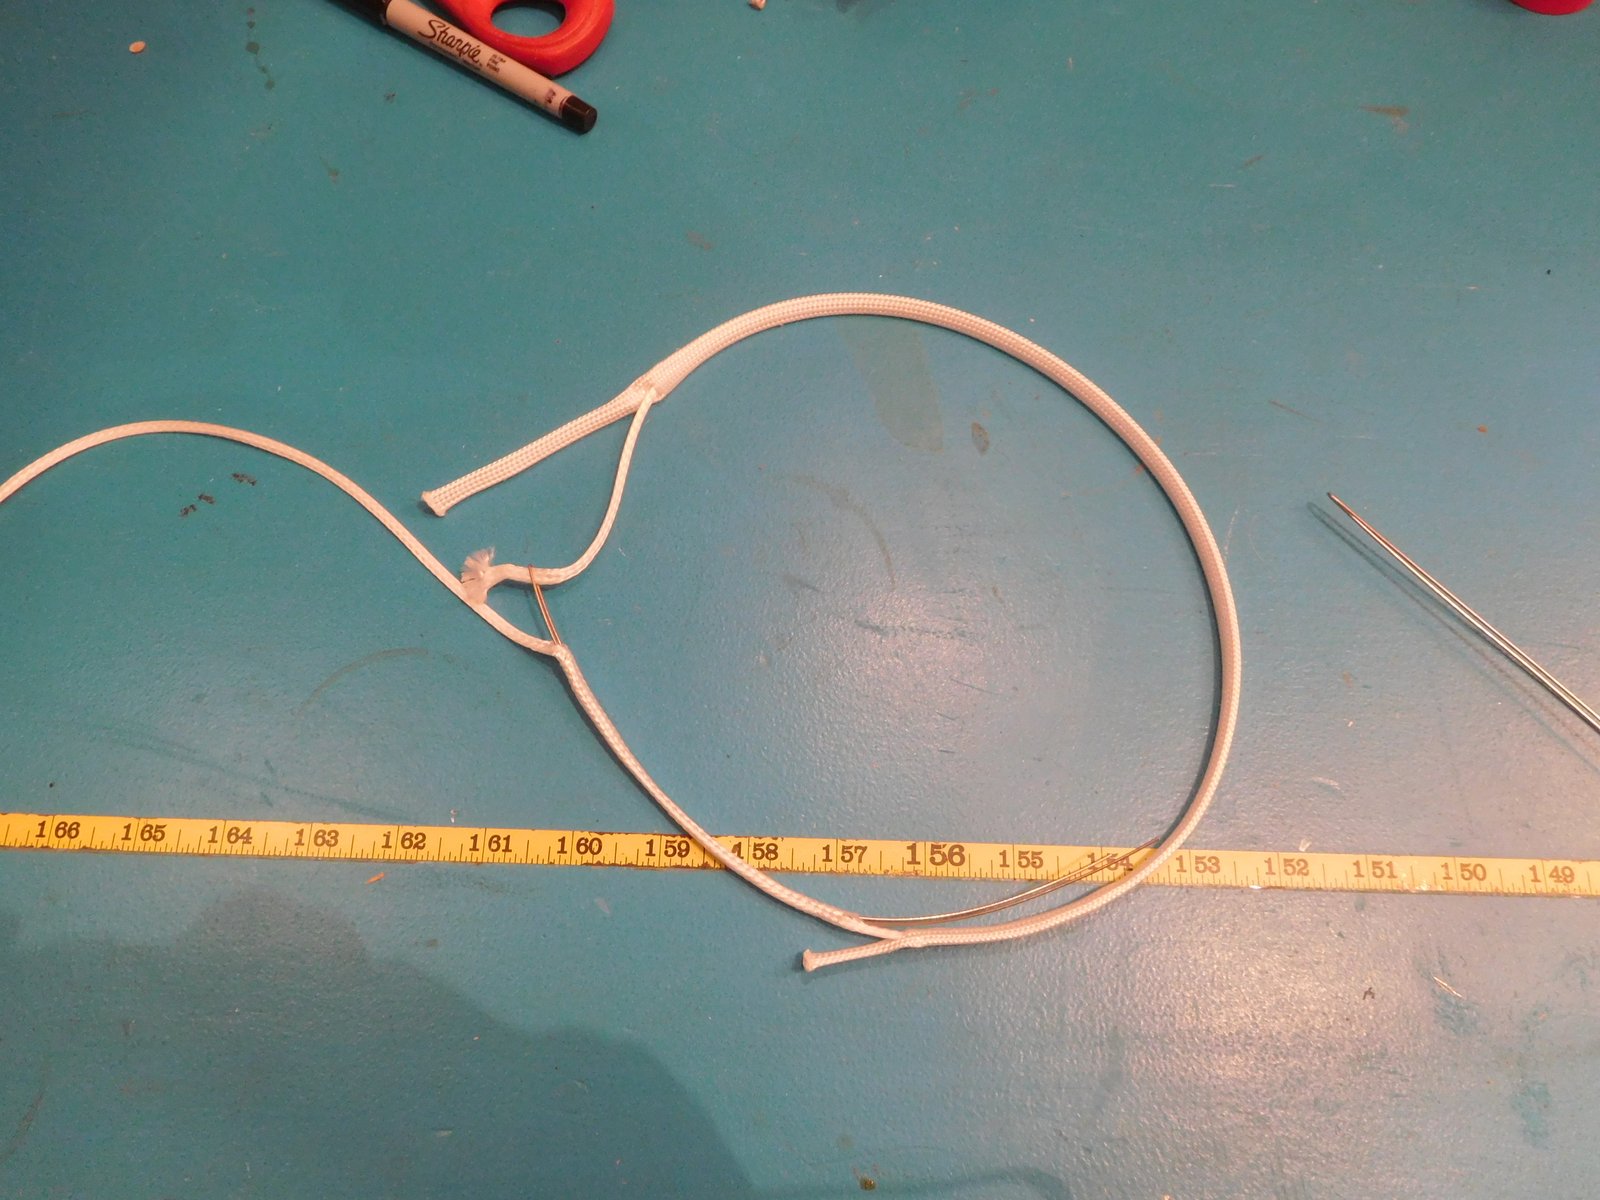
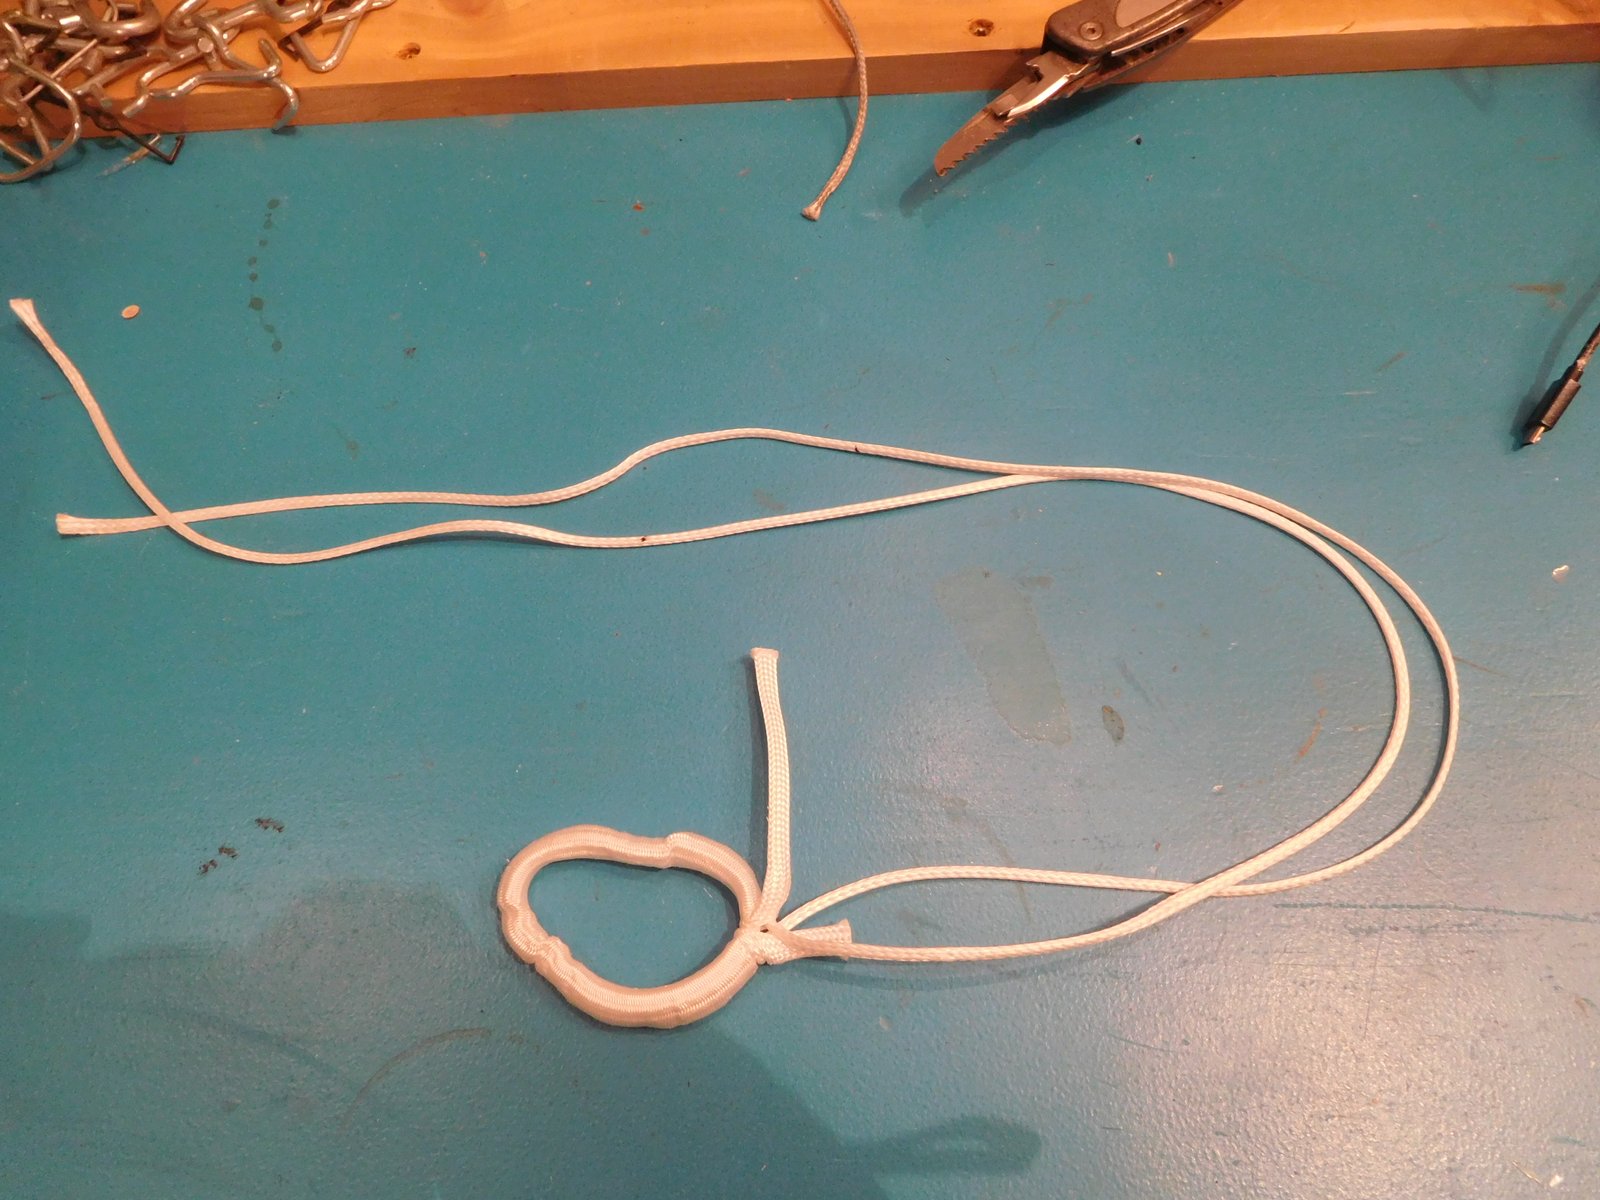
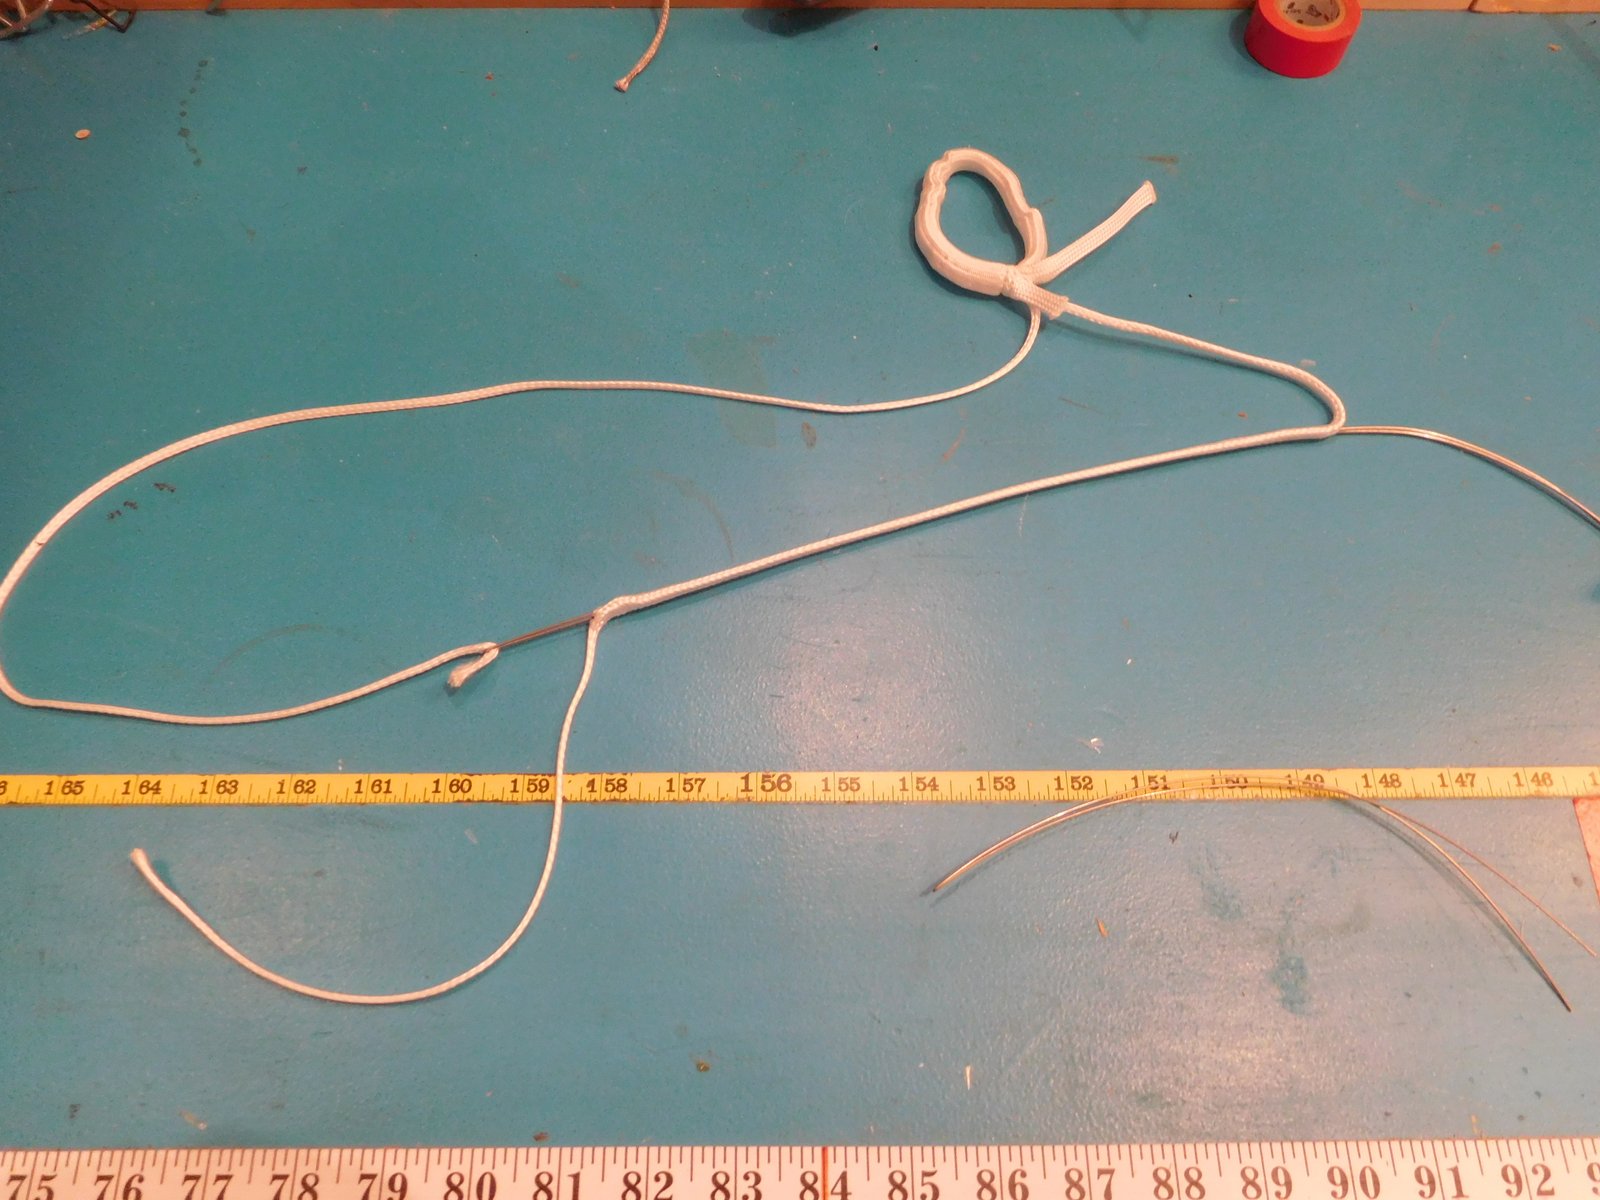
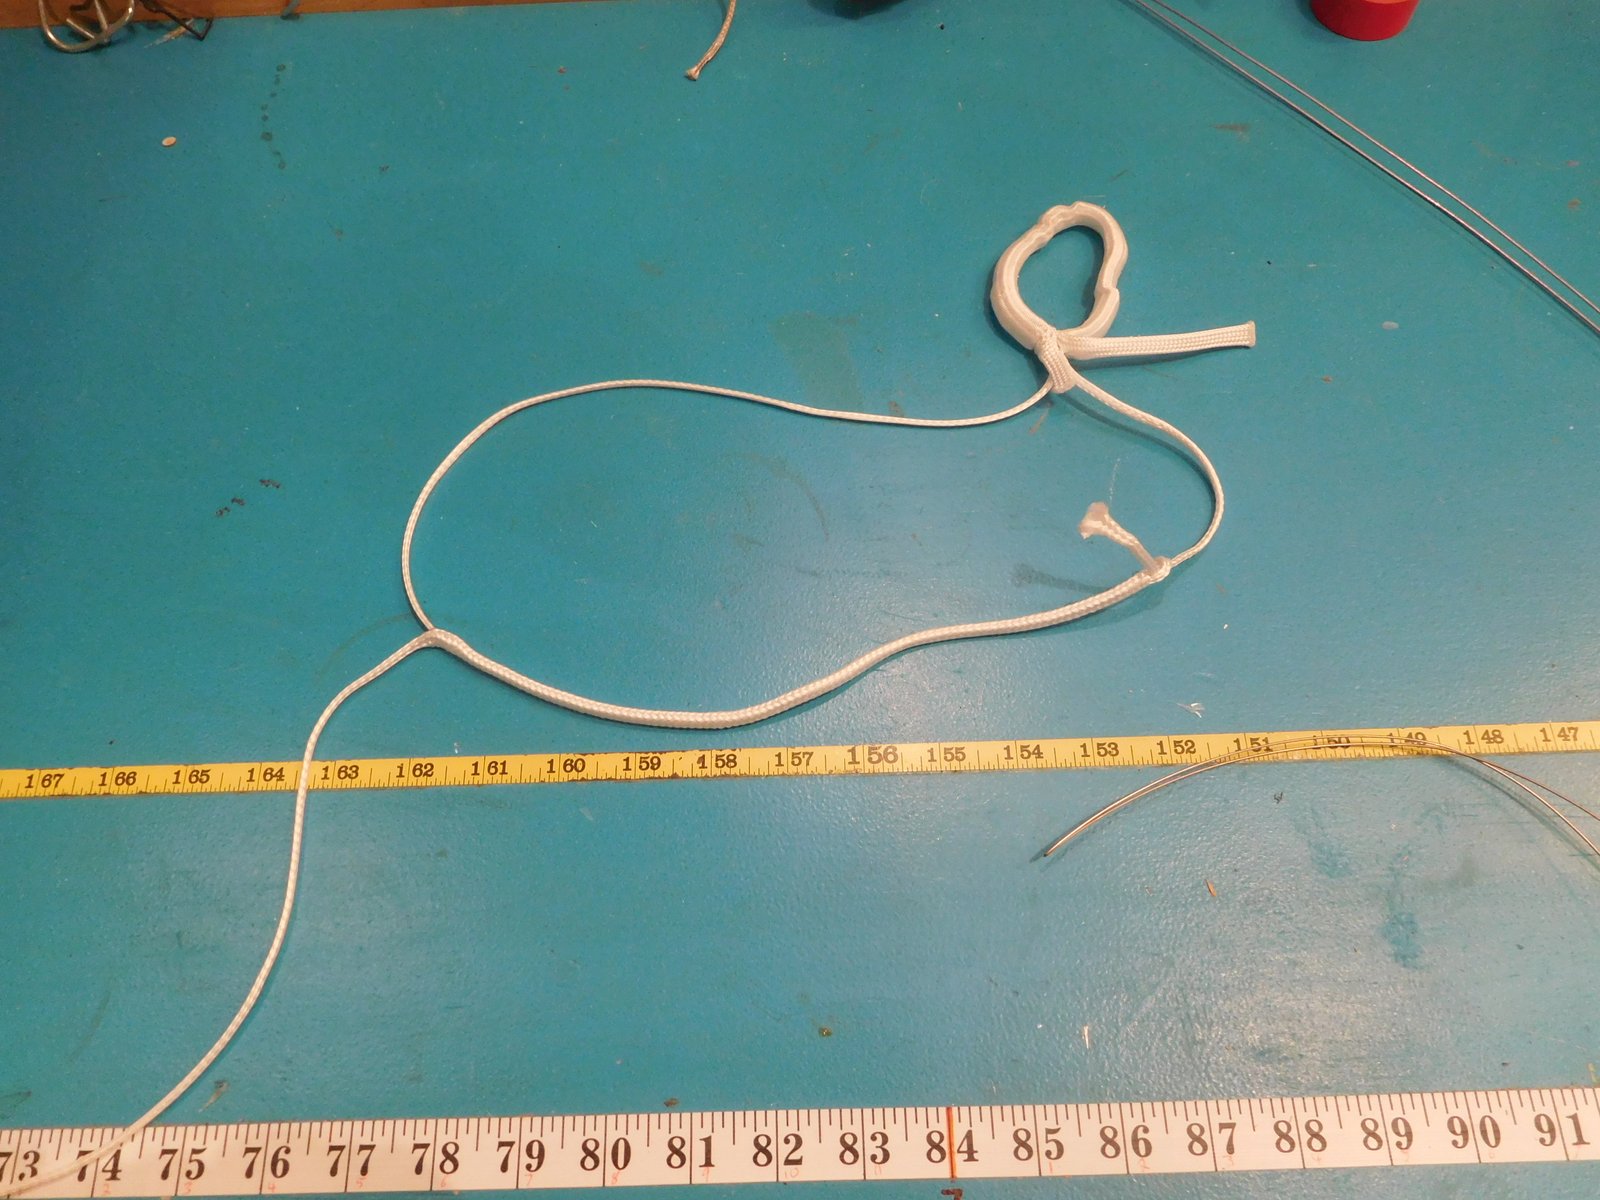
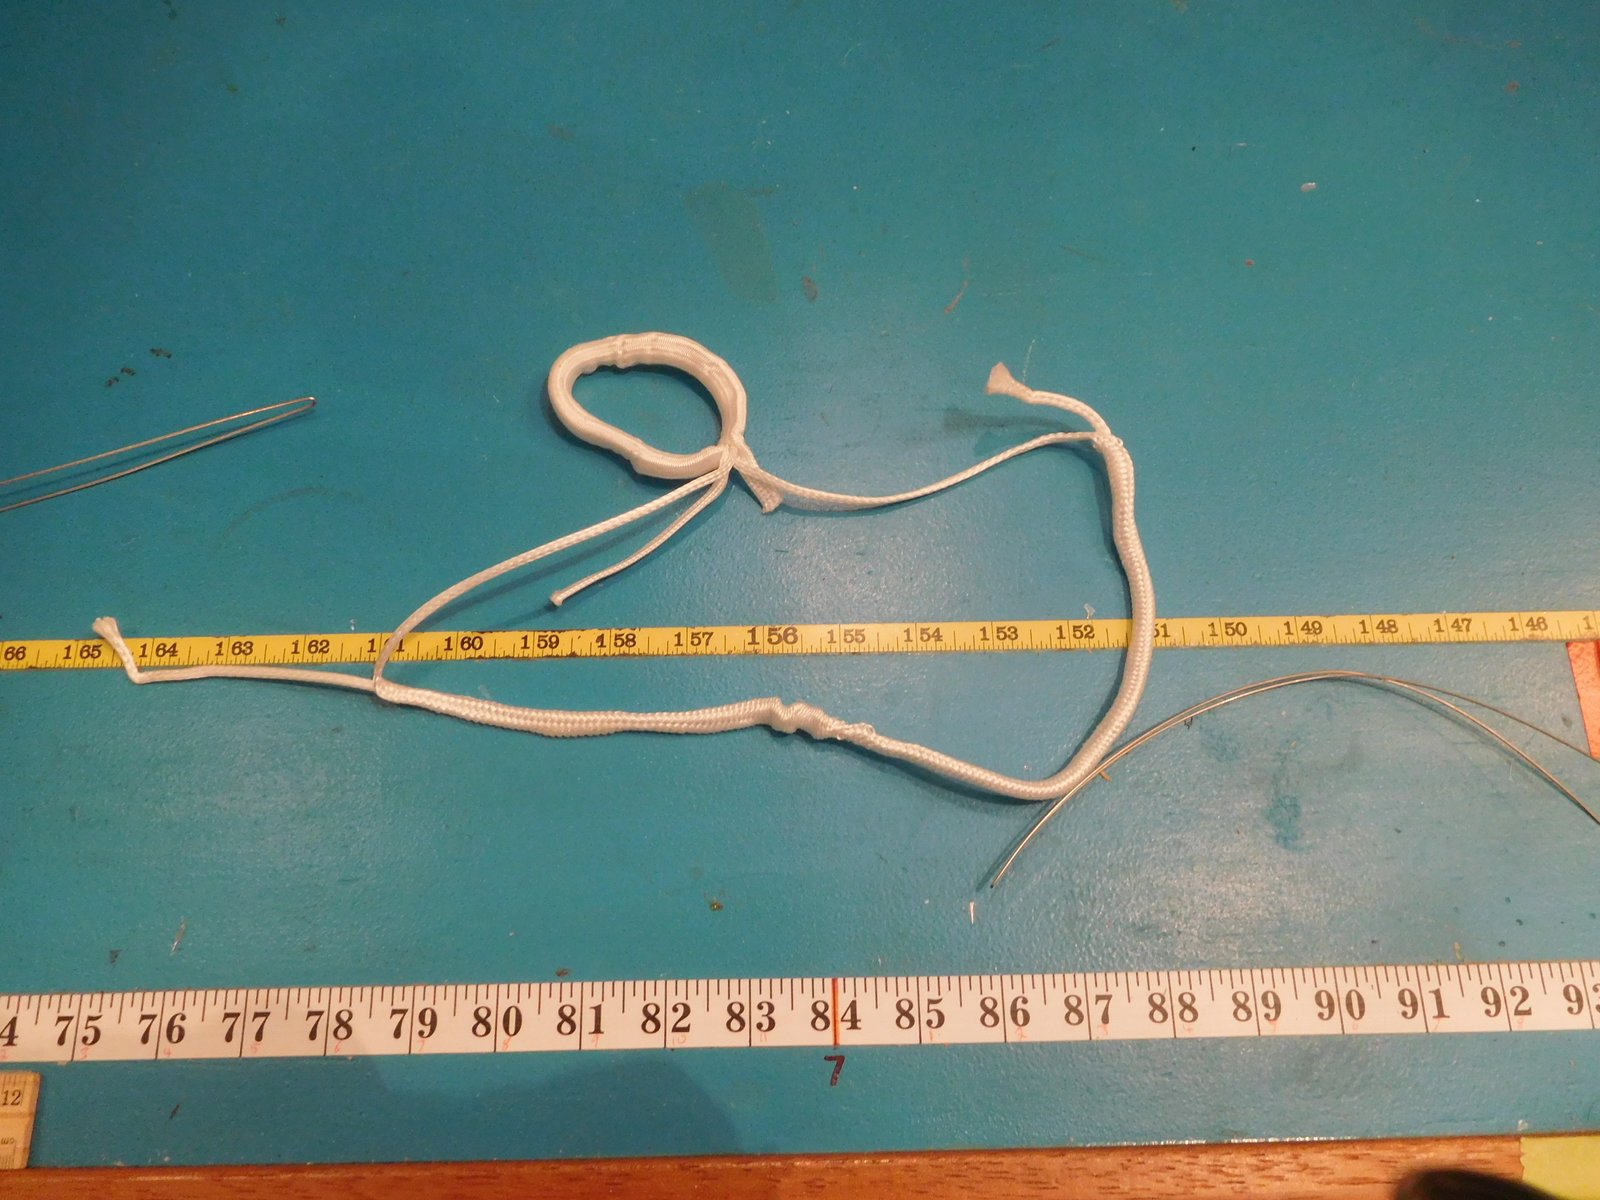
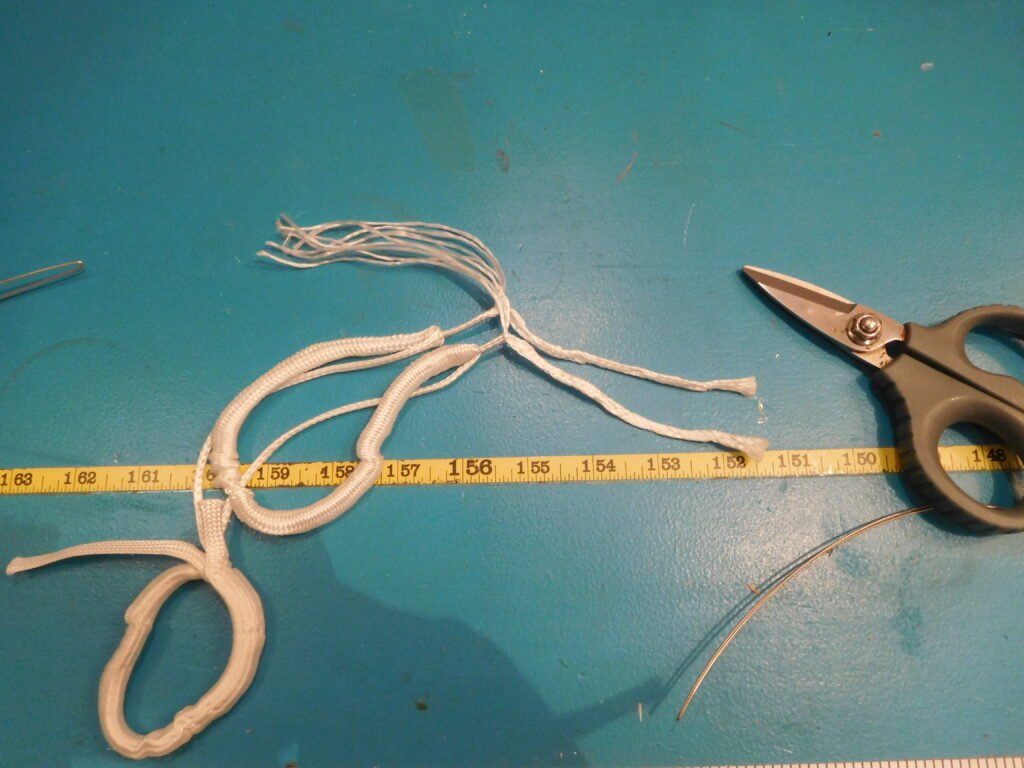
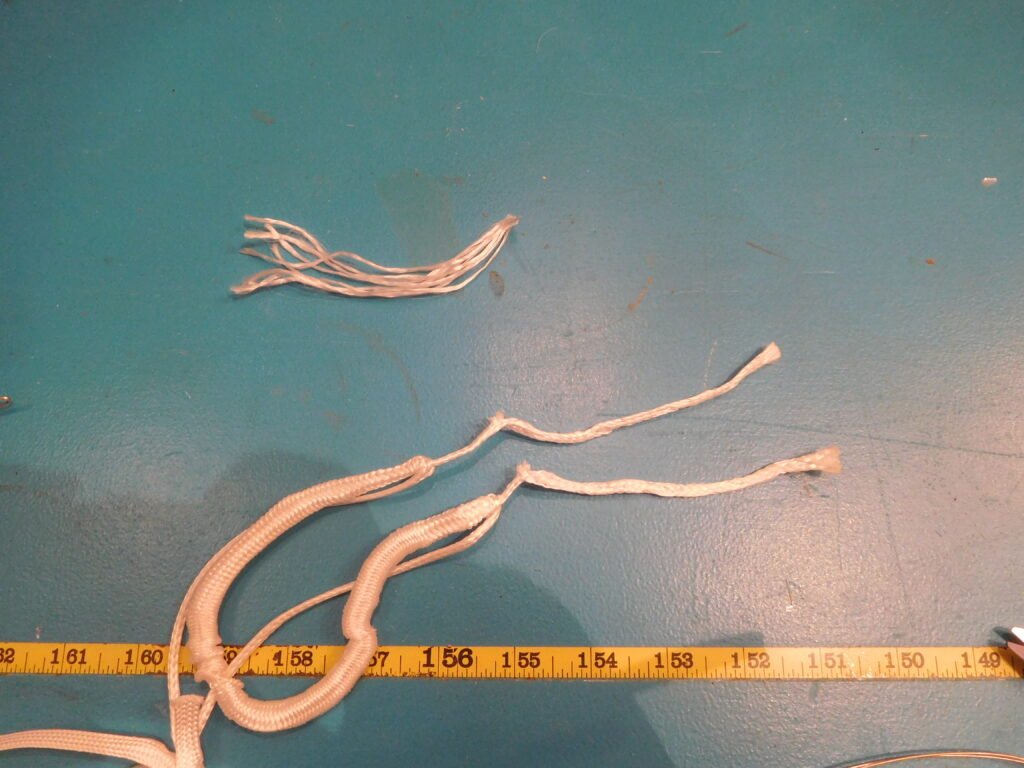
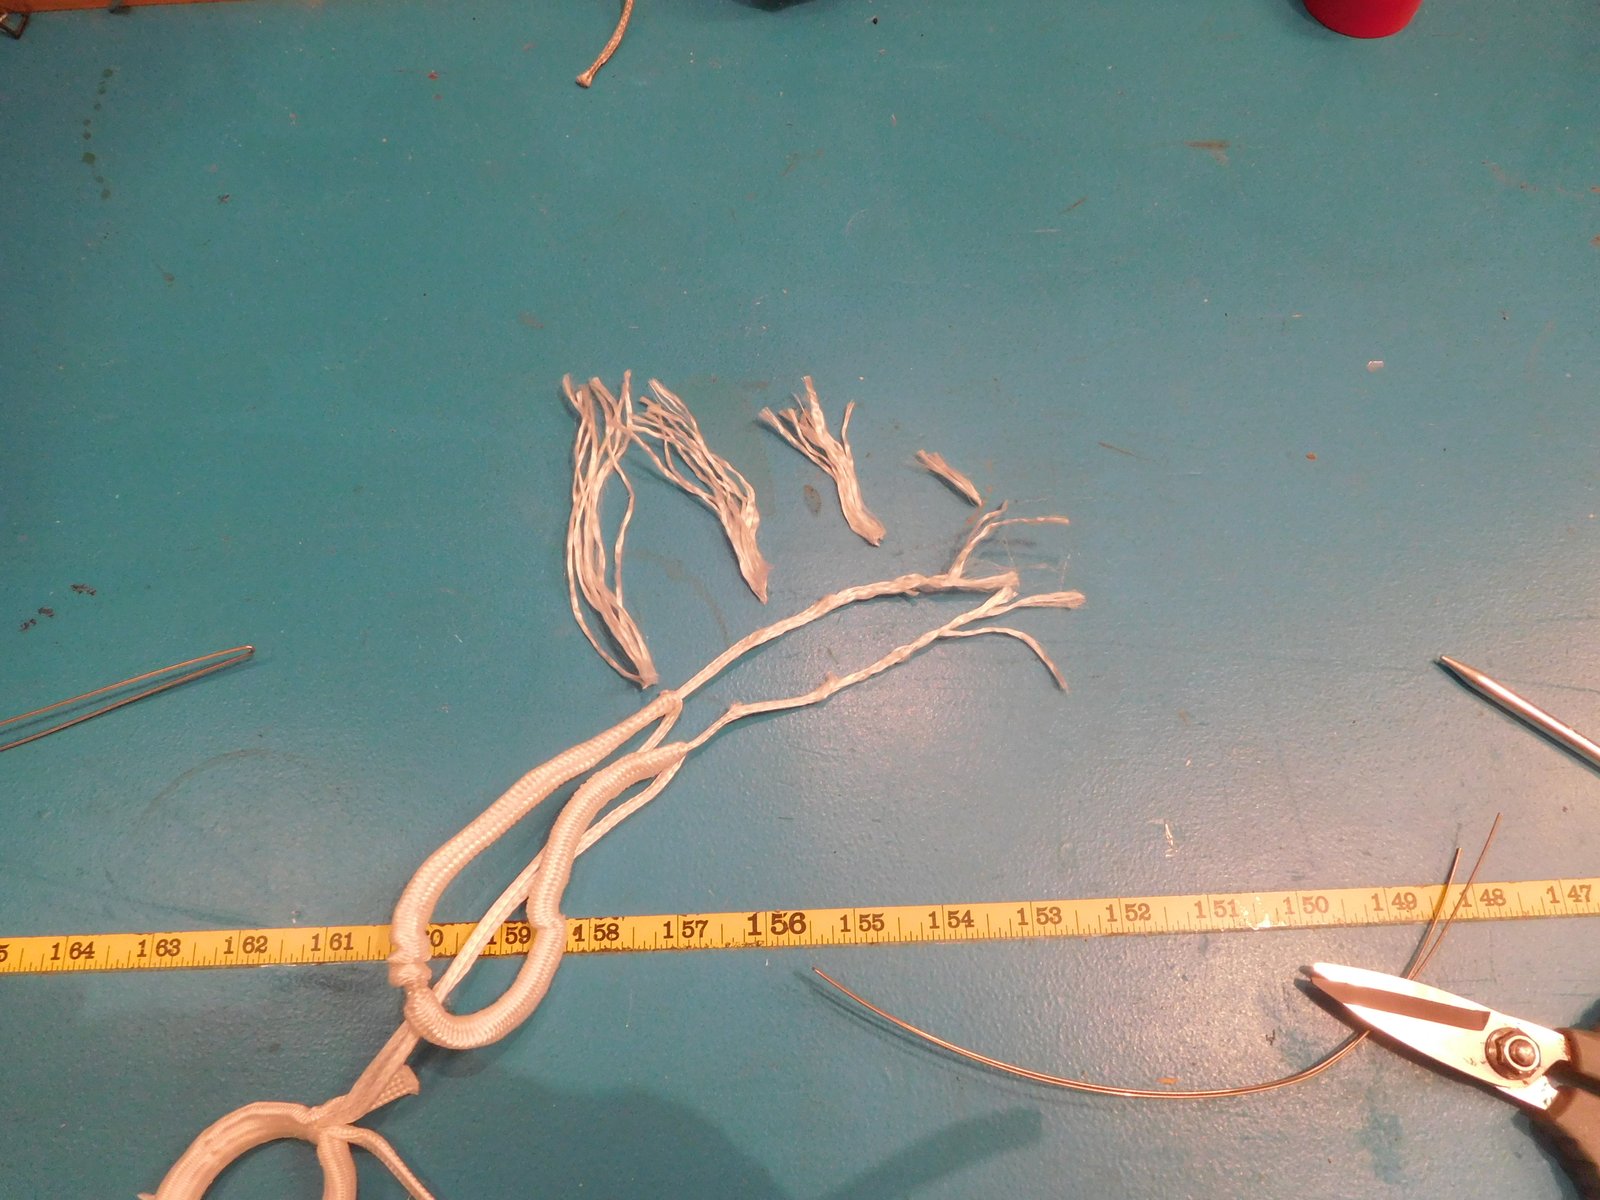
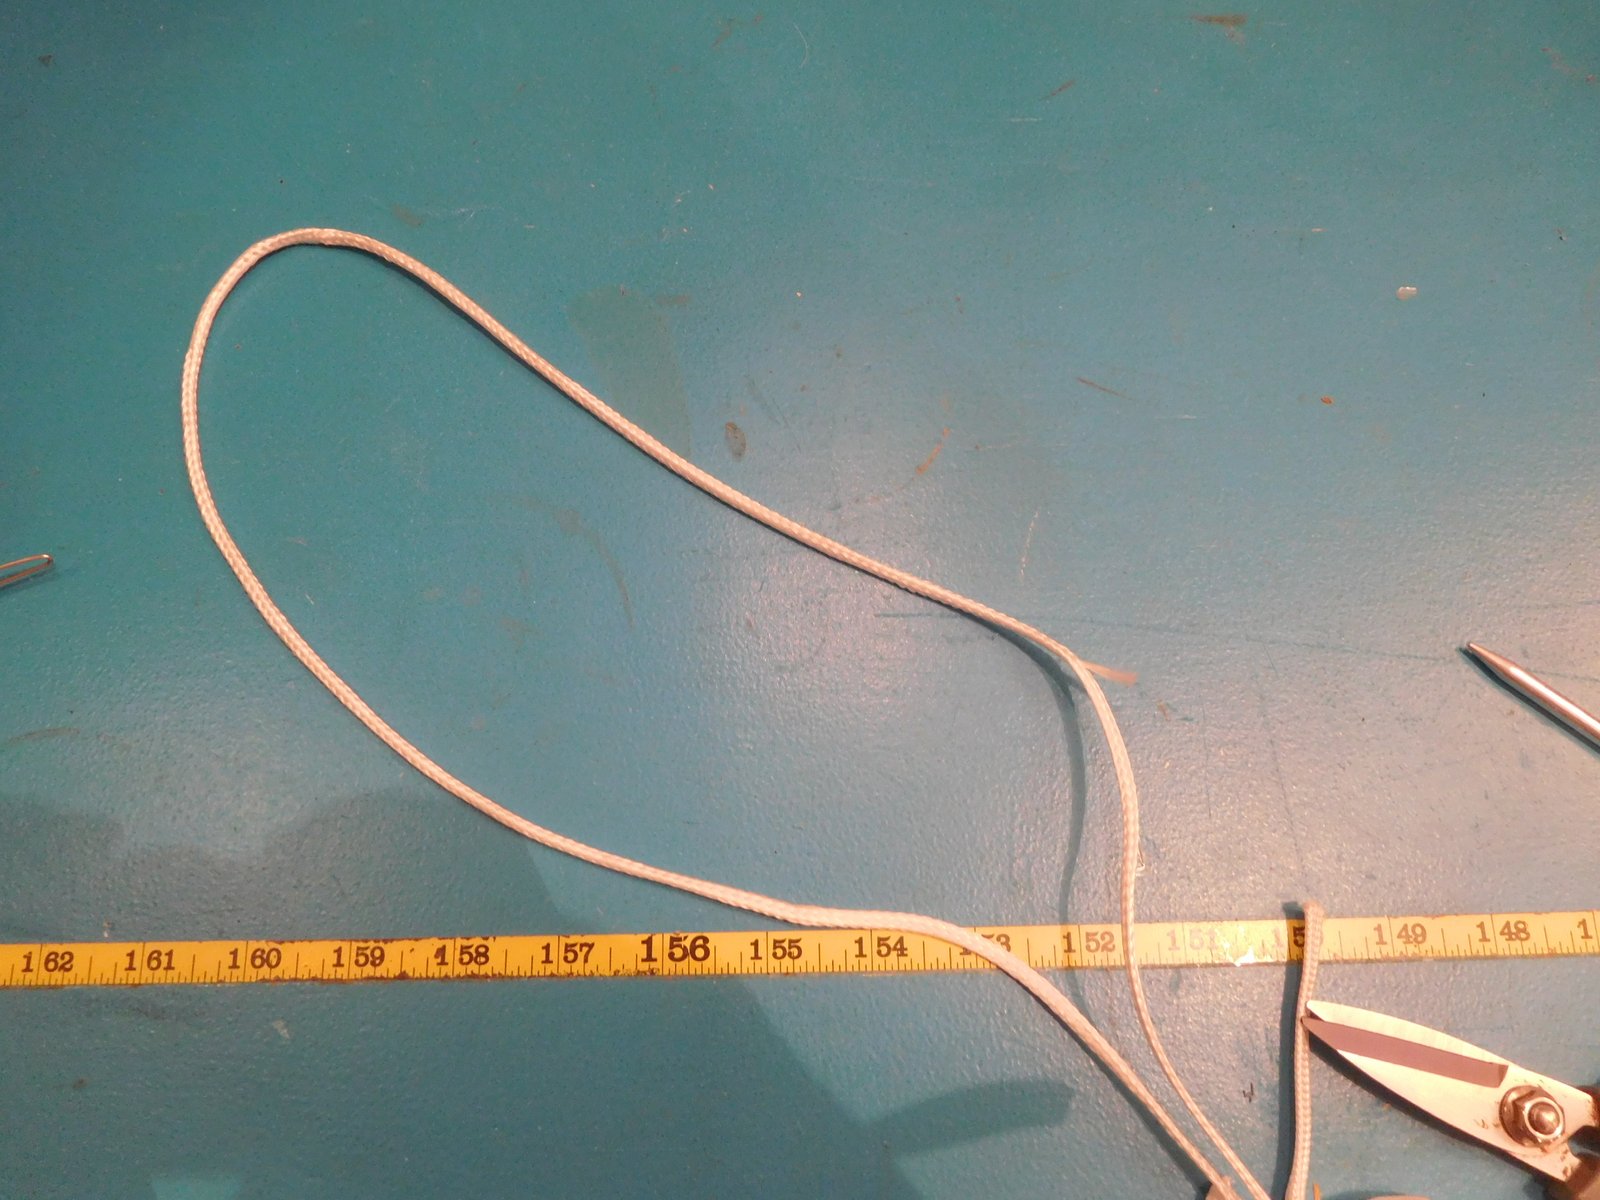
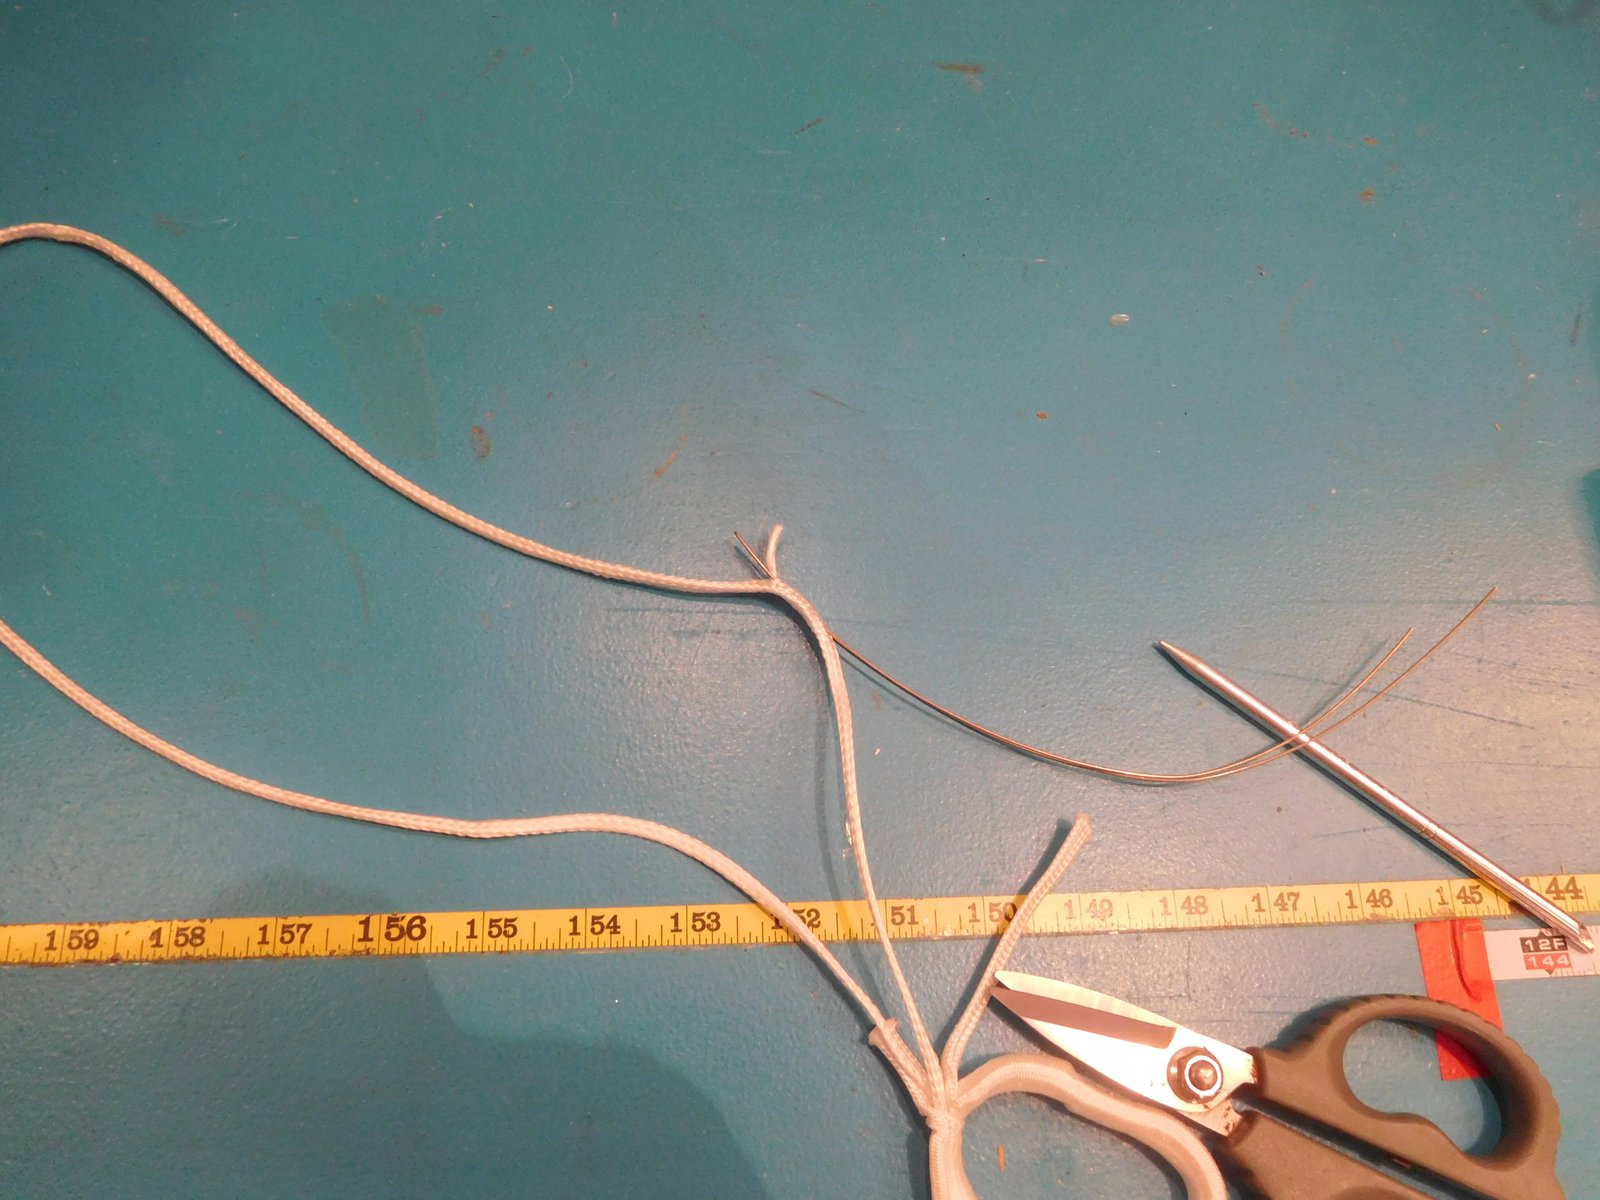
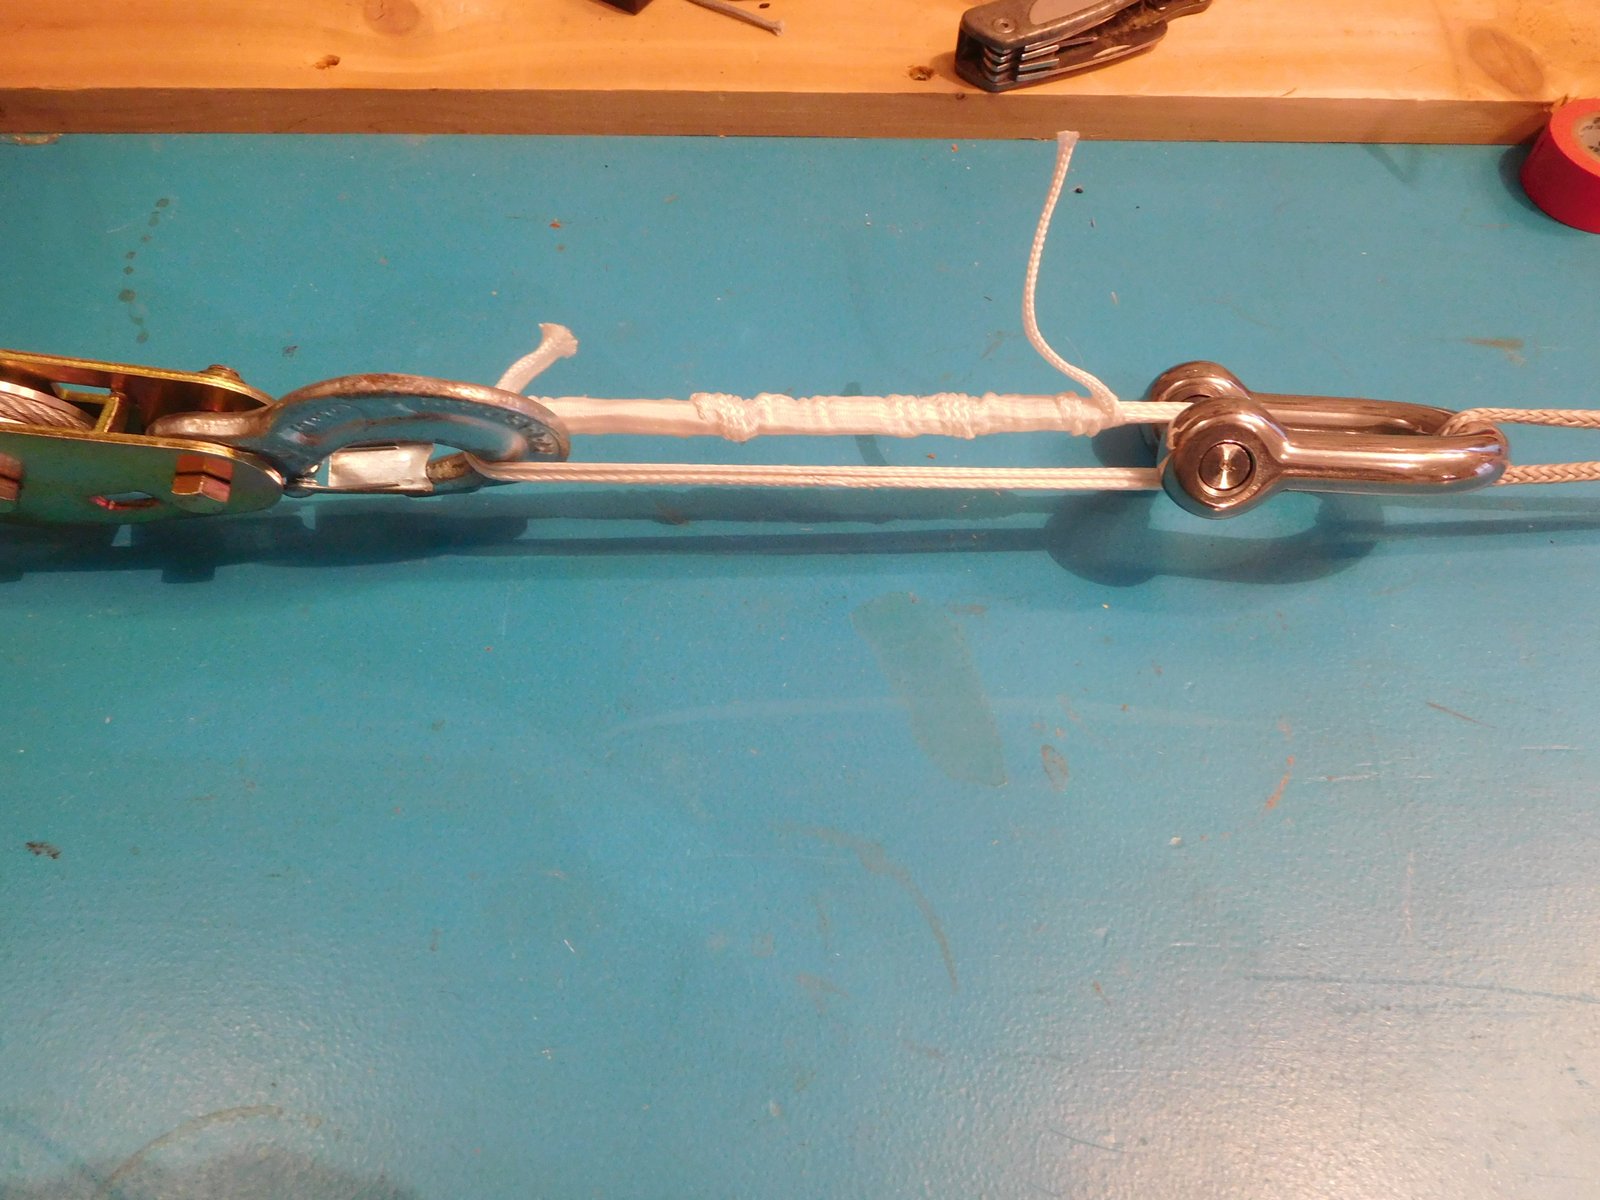
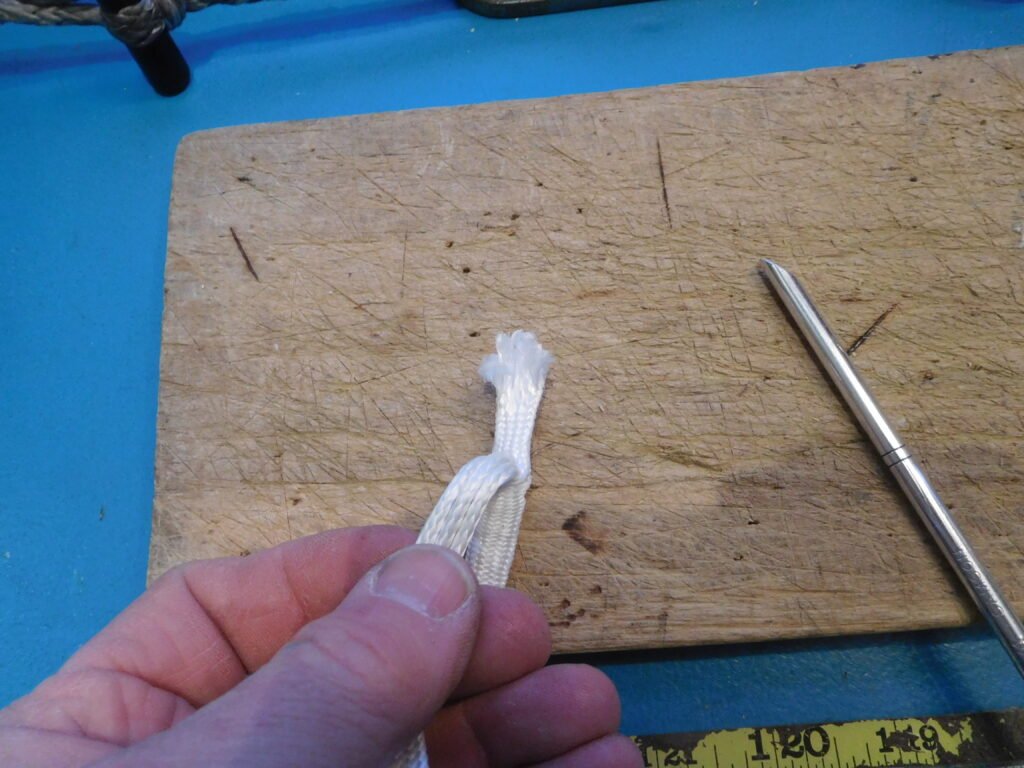
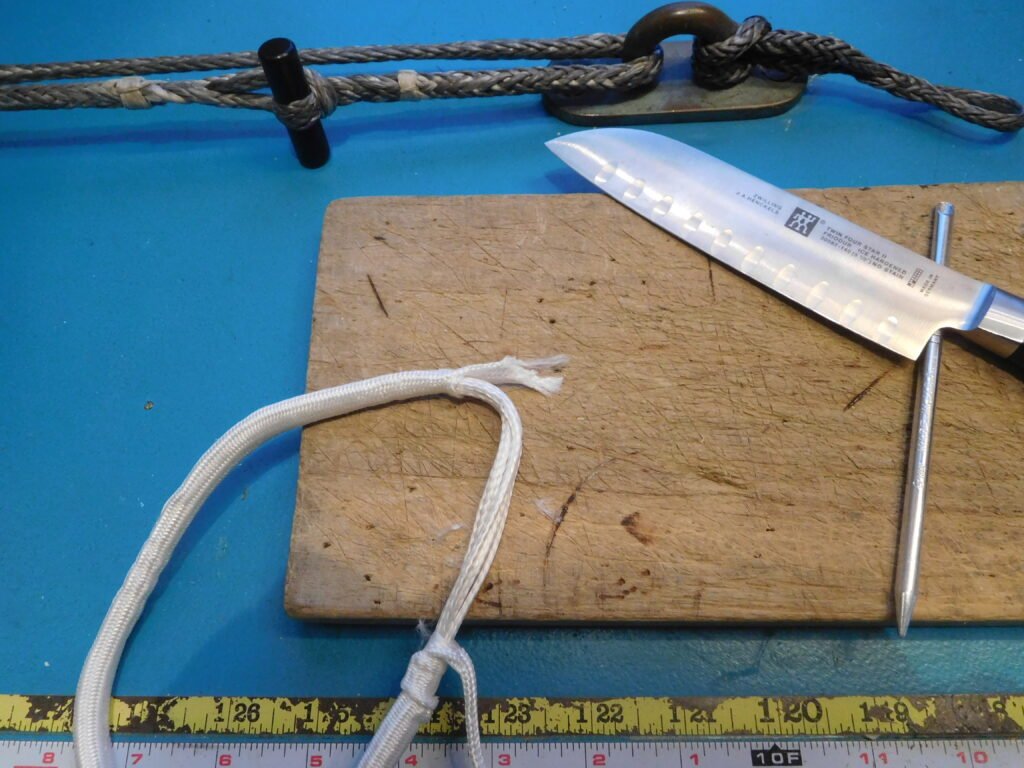
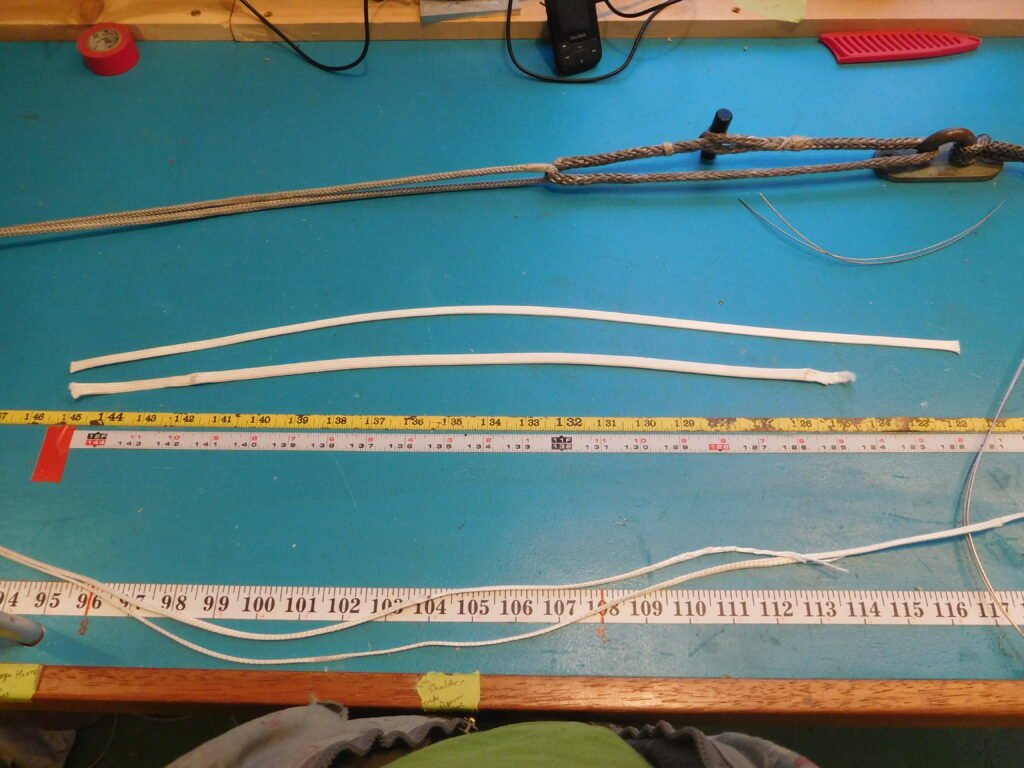
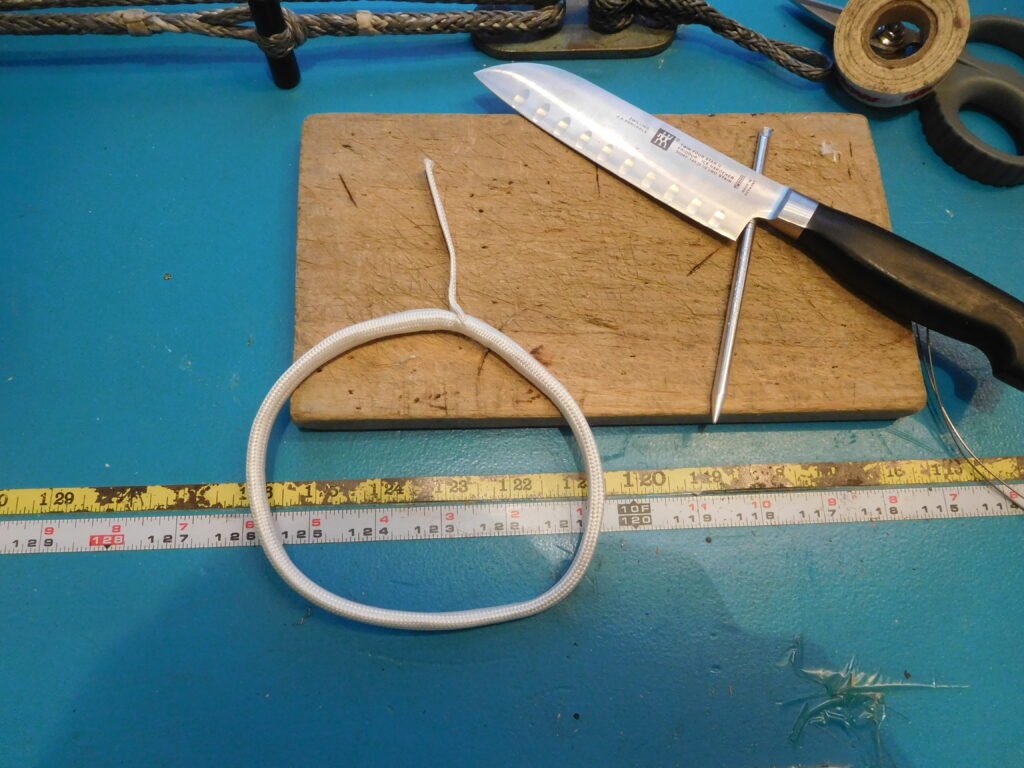
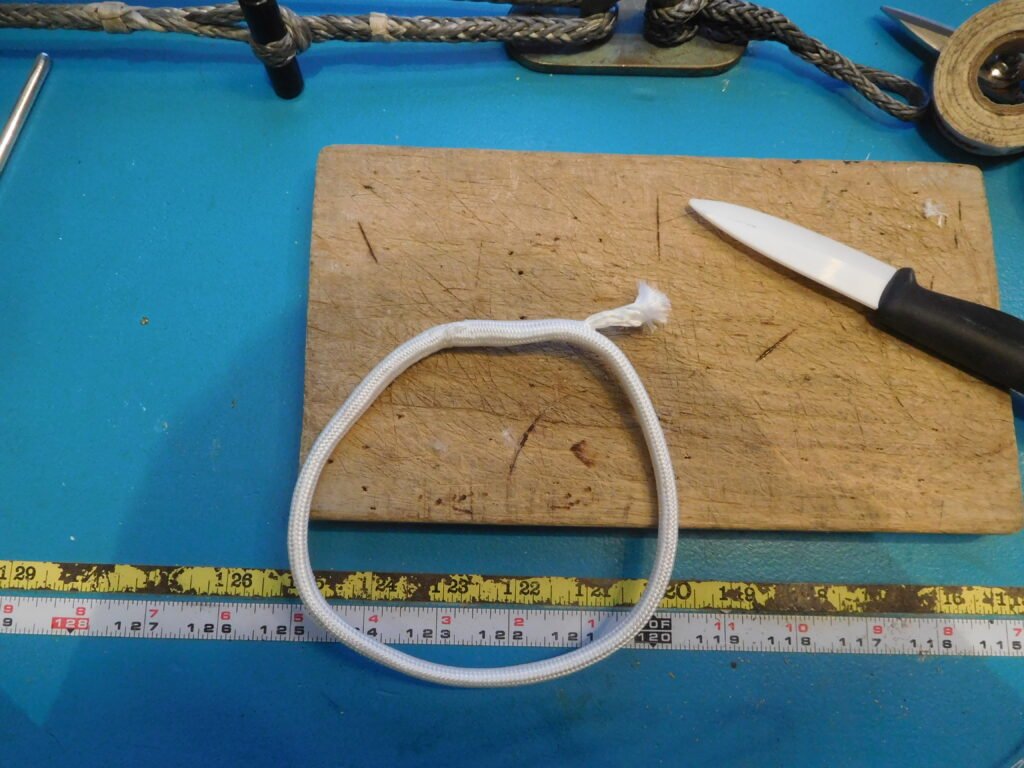
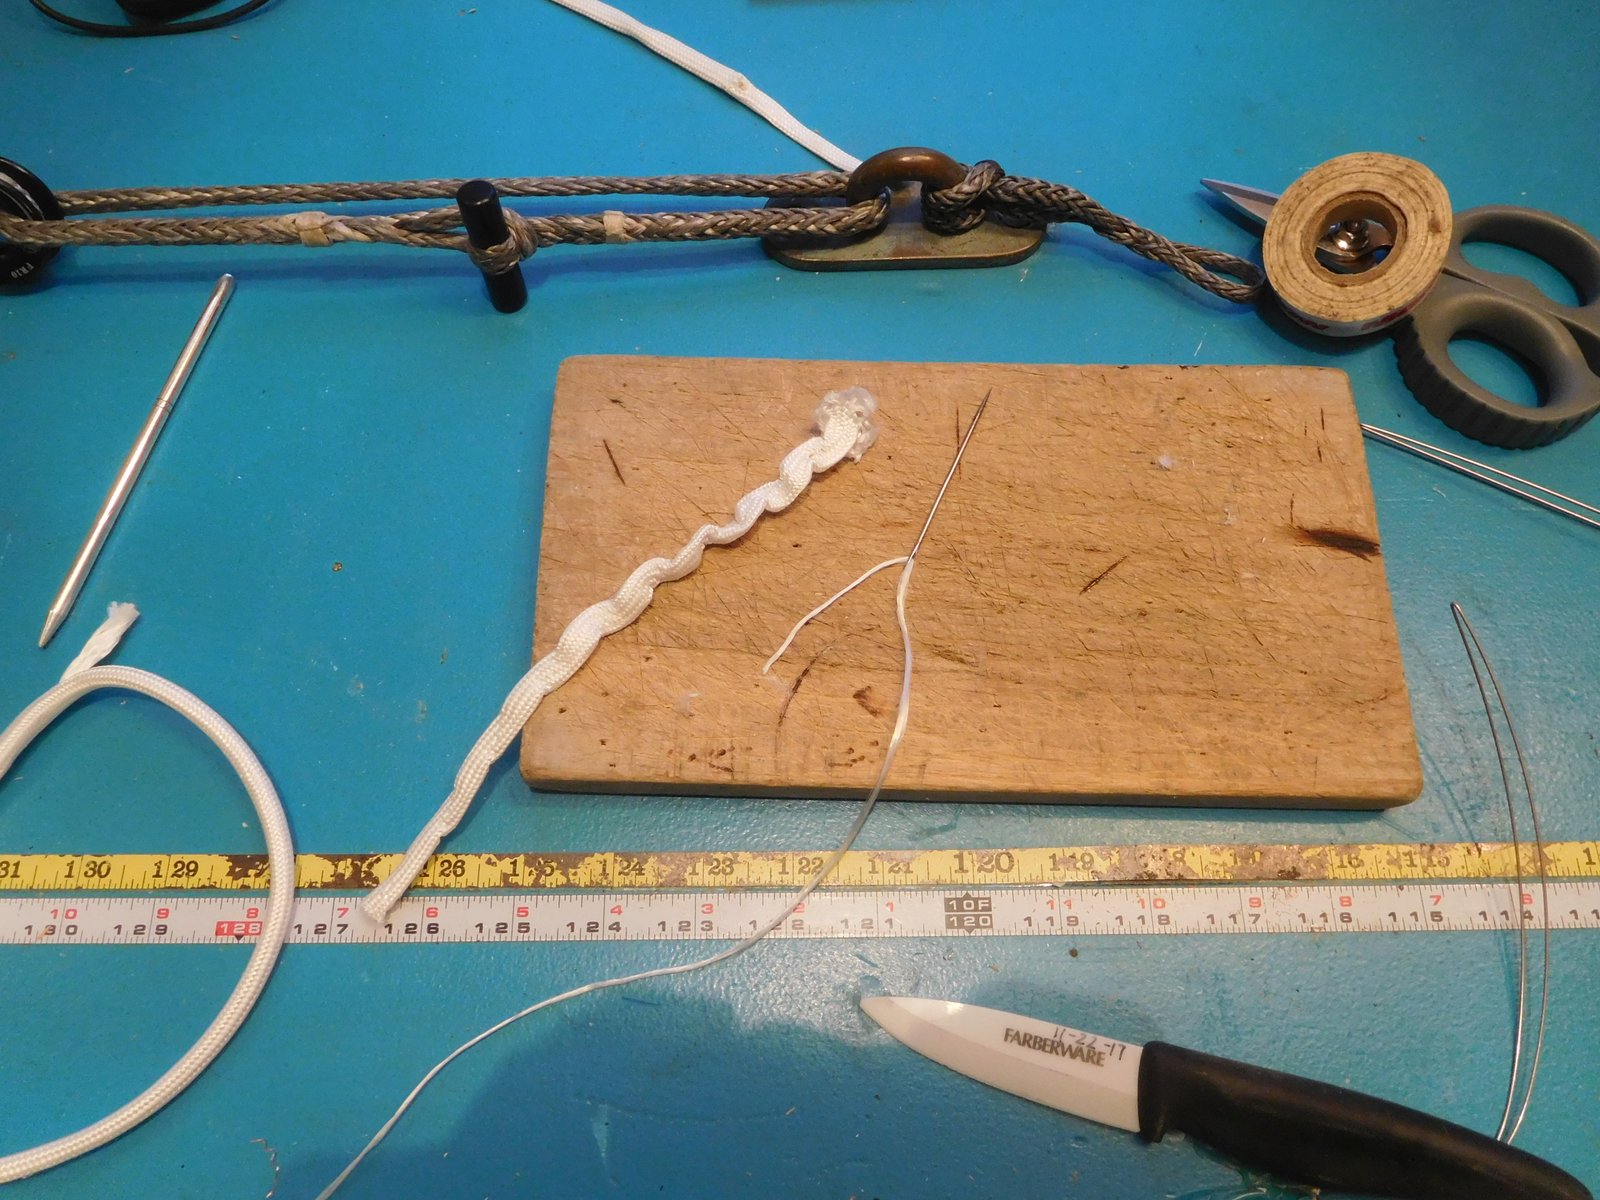
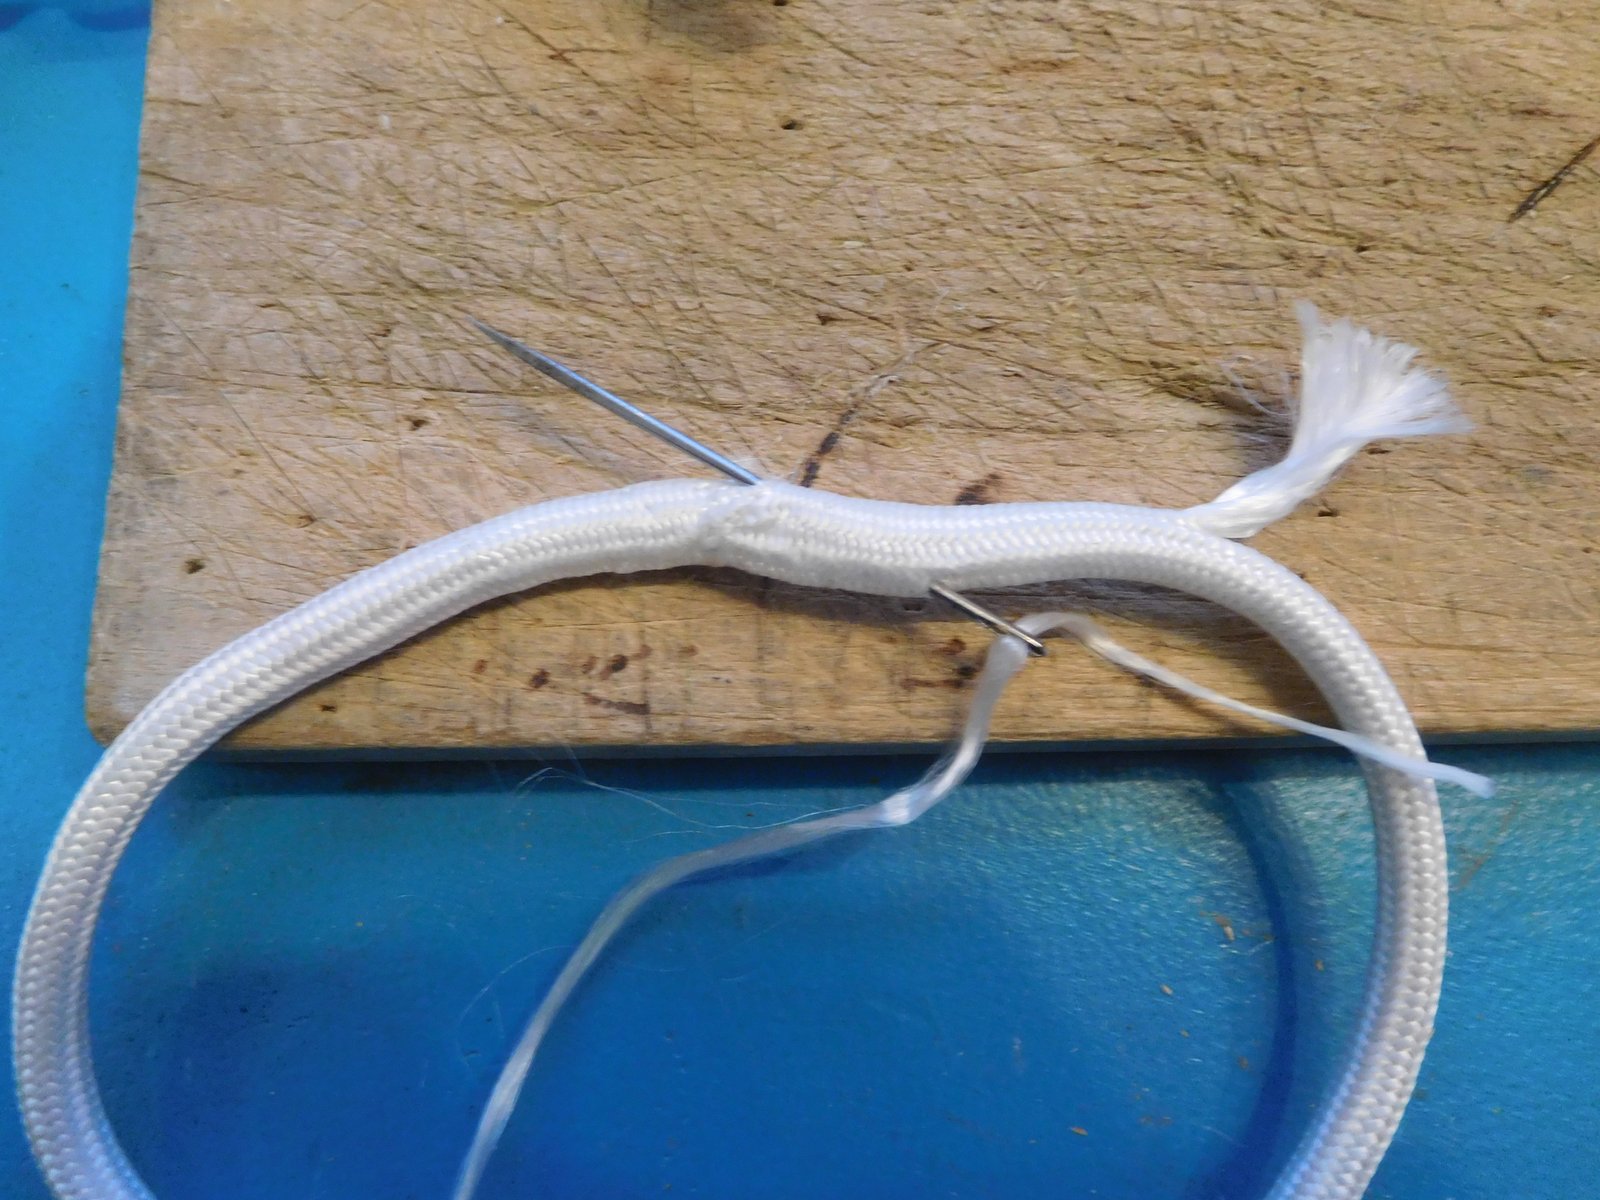
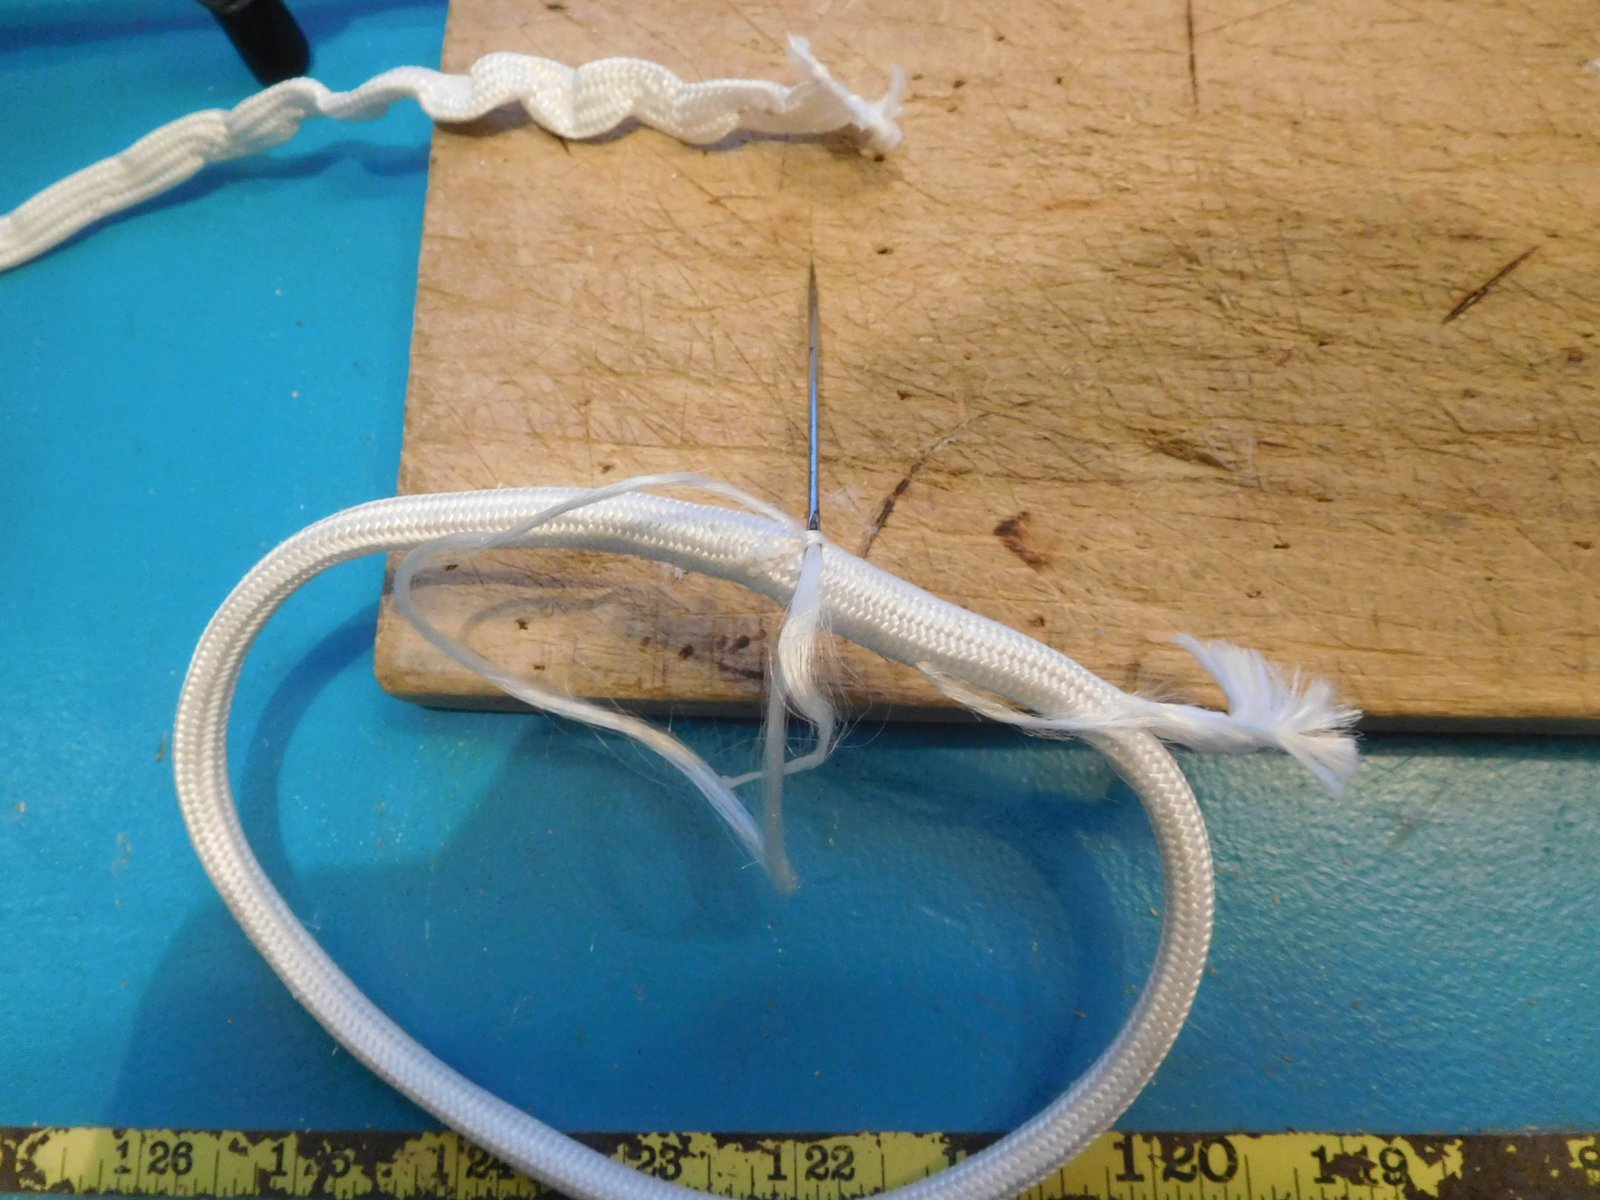
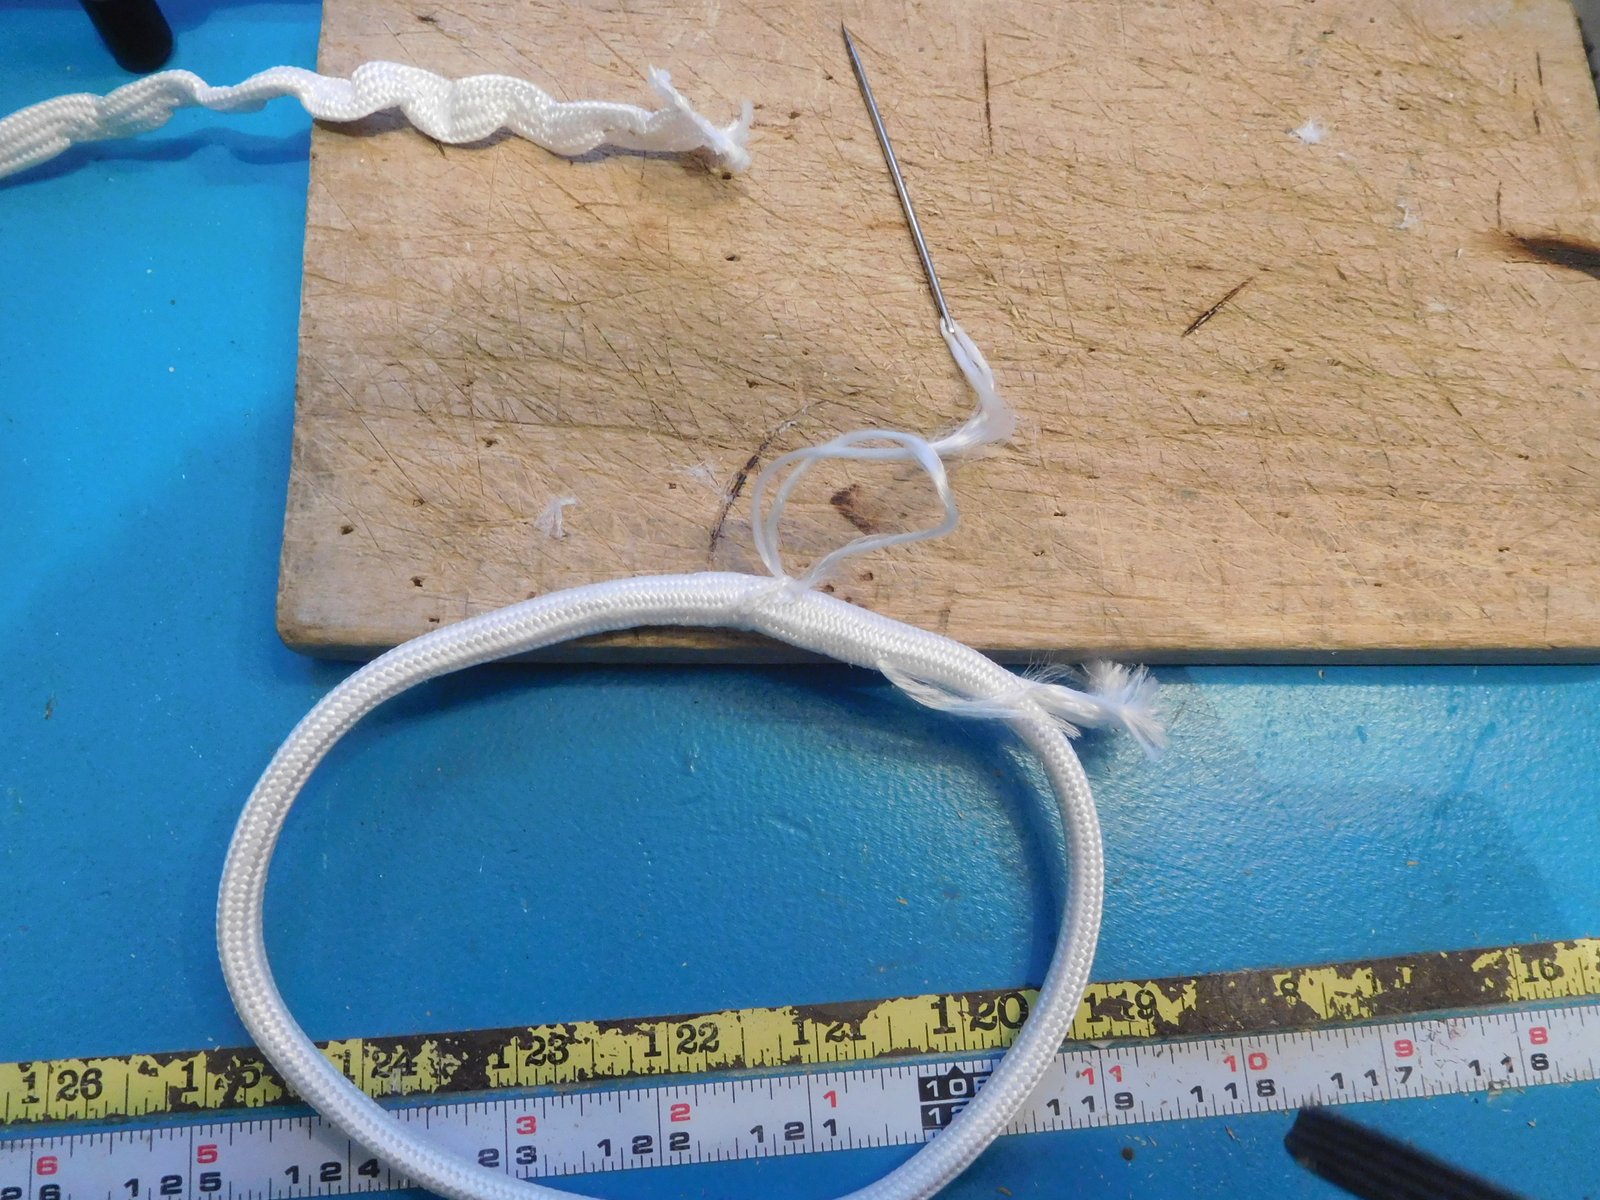
Here’s the start of a four-pass loop. You should never do more than five passes. Just get bigger line at that point. Wind the core around the amount of times desired and leave tails for burying. Tail length is minimum 52 diameters; no sense going over 72 diameters. Cover length depends on diameter and pass amounts. We’ll guess this one and see what happens.Dive into the cover four inches from the end with a pull fid. If the cover’s too long for a pull fid, you’ll have to push the core in with a regular fid.Come out about an inch from the other end, and snag the core.Draw the single stand of core into the cover.Using a small pull fid, bury the end of the core into itself for a few inches.Don’t taper it–it’s just so that you can get your passes….passed.Milk the core over the bury so it looks like this.Pull on the back end of the core so the spliced bit feeds through the cover.Keep doing it until you’ve got the desired passes. Then pull the bury out of the core.Pull on both tails so the cover scrunches up around the rest of the turns. You need room to bury the tails.Starting a fair bit away, dive in with the pull fid and emerge at the mark I forgot to tell you to make at the base of the bury tail.After you’ve buried one tail, hitch the end around the standing part so it doesn’t slip back in while you’re burying the other tail. Some people tape it, but this is quicker.Now bury the other tail the same way, and pull both tails snug against each other. Make sure you don’t distort the crossover by pulling too hard.Pull the tails out and taper them. I do them both at the same time.For 16-carrier, I taper four, four, four, and two.Here are the taper stepsMilk the cores back over the splice tails from the crossover. A little might stick out. We’ll fix that in the next frame.A quick dive in and bury with a small wire fid, and no one will ever know.Pull on the core stands that were all scrunched up to make the passes even. Mind the crossover, so it doesn’t move. Some folk tape it, some just hold it snug, some drop a couple loose stitches in.Once all your passes are even, milk the cover around. You can either finish the loop now, or pre-load it and finish after.We’re gonna pre-load it with a come-along. With black cover I wouldn’t bother, but since I’m going to dye this one, I’ll scrunch the cover so the strands don’t get too flattened to soak up dye.Once it’s off the loader, take the short flap and comb out the strands with a fid.Cut it off at an angle….Tape the small tapered flap down with thin tape. Millionaire’s tape is awesome, but mylar is cheaper, and vinyl works too.Milk the cover, beginning at the taped flap, so that the longer flap engulfs the tape. Here we find to our disgust that we didn’t get our cover quite long enough: it won’t cover the tape. This is why we make a test loop first before cutting out a whole bunch.It only takes moments to pull everything apart and cut a longer piece of cover.This time it’s long enough!Taper the flap twice: I do eight picks and six picks. That’s a 25% reduction each step.Bury the flap with a pull fid, and snug up the crossover.That piece of cover than was too short will come in handy to supply thread for sewing the crossover. Why waste it? Just pull out a strand and thread a needle with it.After sewing neatly around the crossover, without engaging the core strands, cut off the two thread tails, and pull the flap tail out a bit so you can cut it at an angle. All the loose ends should disappear. Now you have a covered selvagee with core and cover independent. It’s important not to put a traditional whipping on the crossover until you’ve pre-loaded the loop so the core strands can move around as needed.
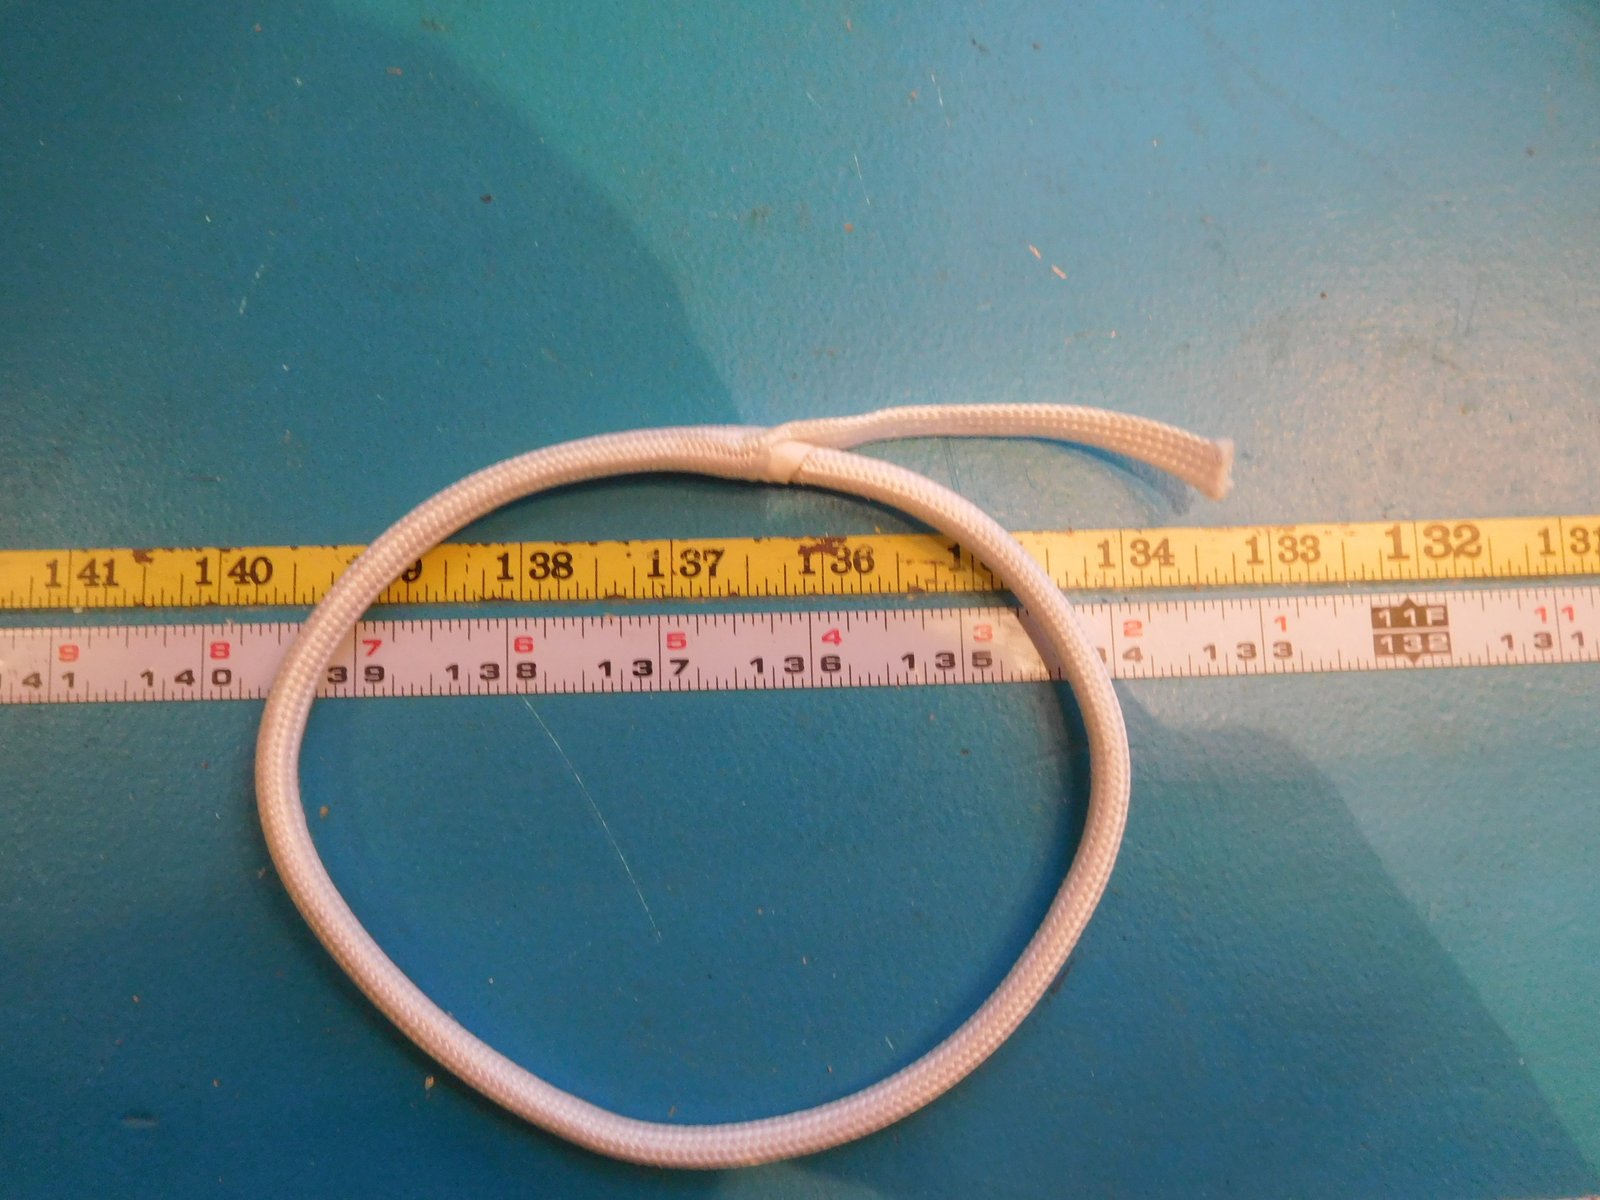
This four-pass loop, made with the smallest diameter (3/32″) of Marlow Lashline, has a breaking load of 8,894 pounds. Imagine what you could do with the largest diameter, which is 5/8″! The mind boggles.
The next two slide shows below will tell you two alternate ways to close the loop. They take longer, but are more elegant.
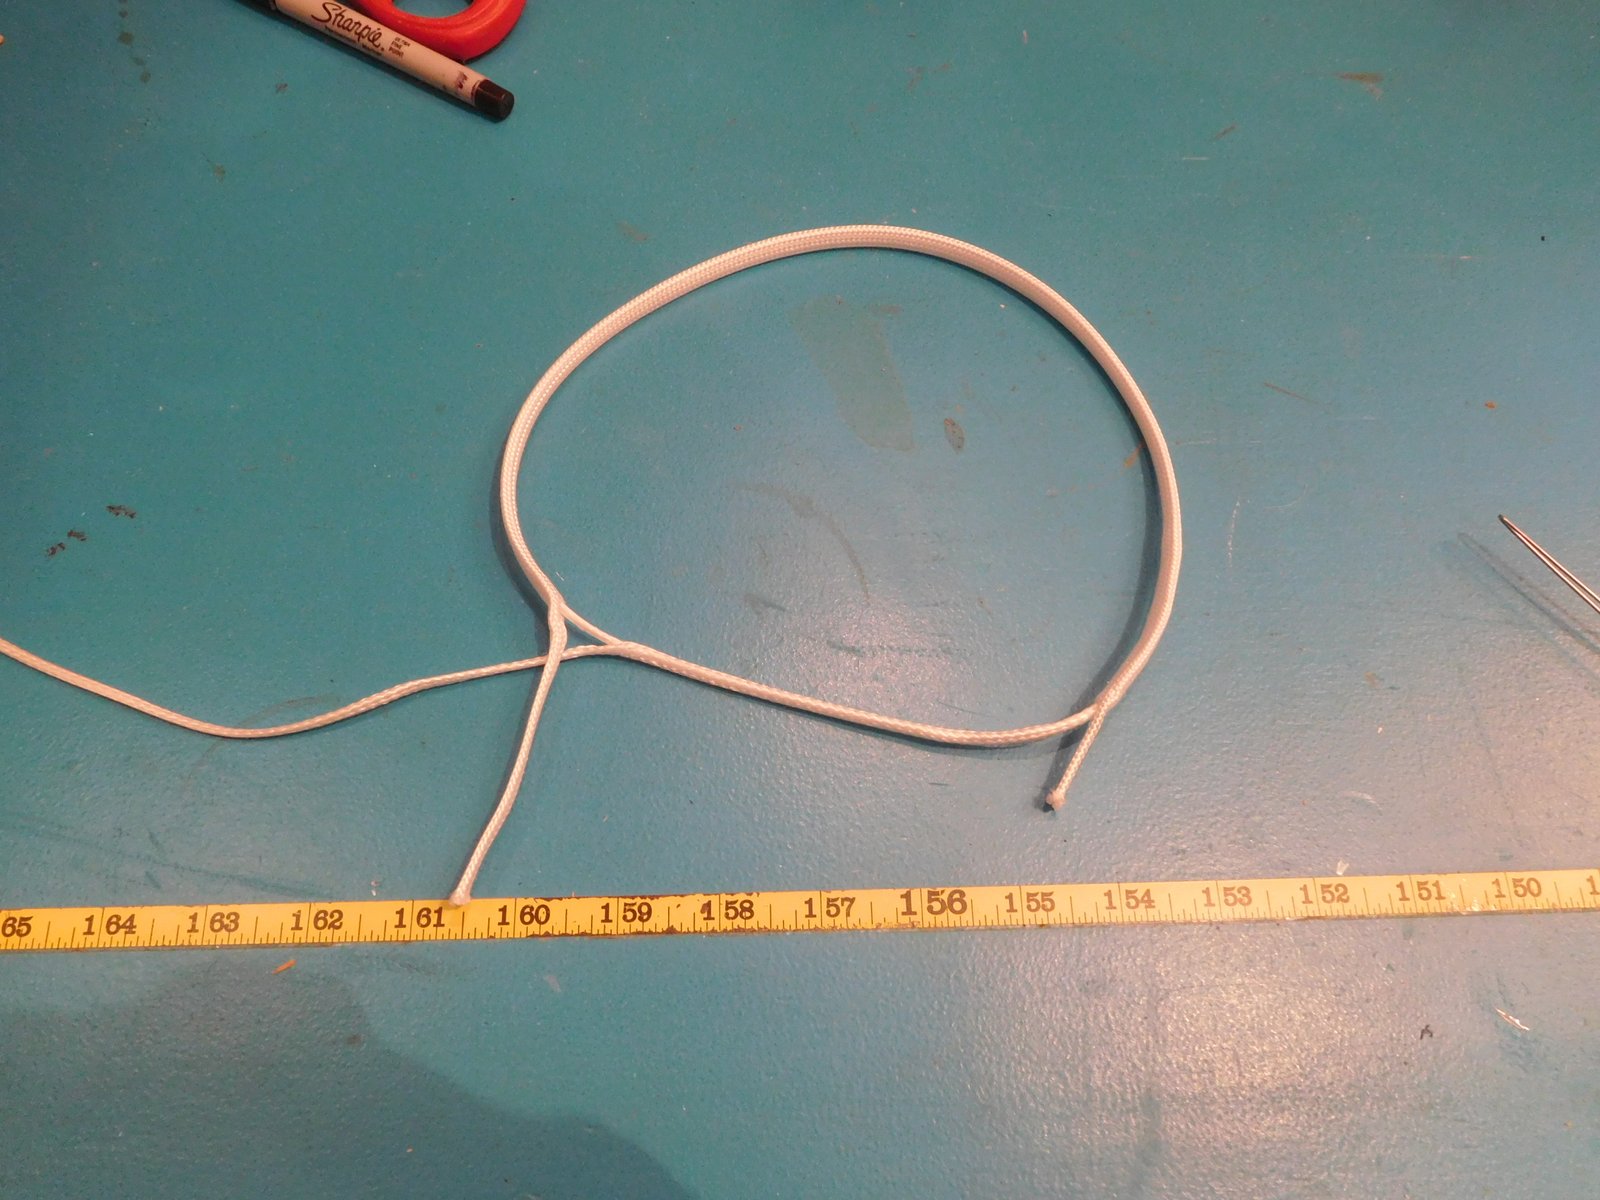
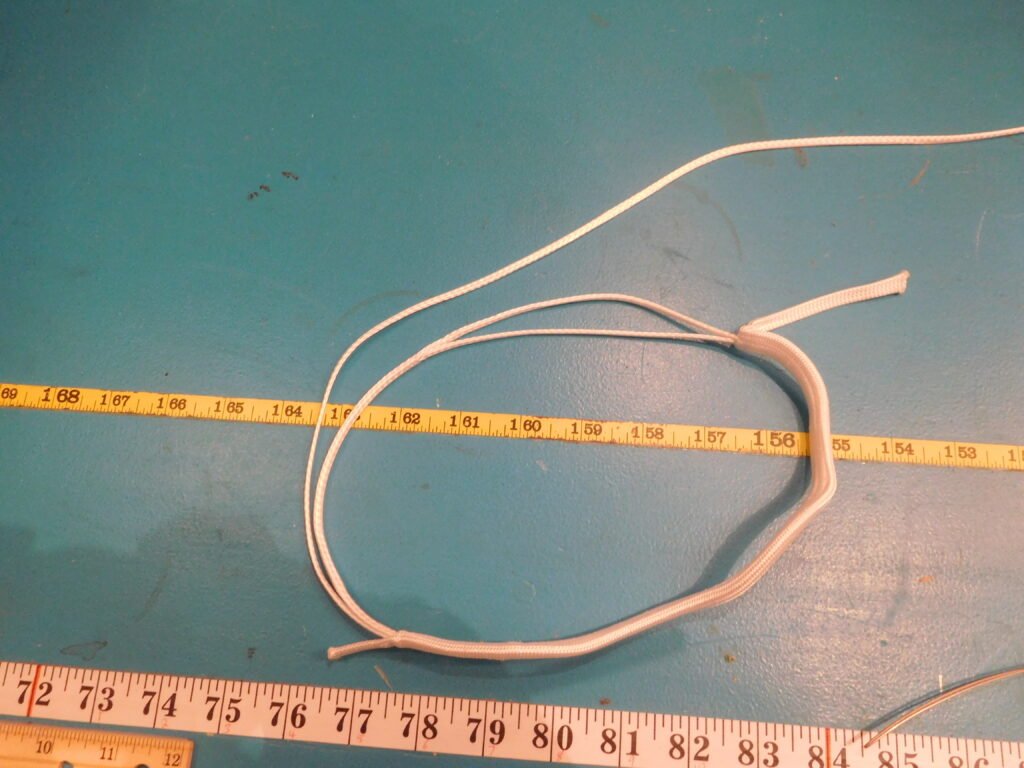
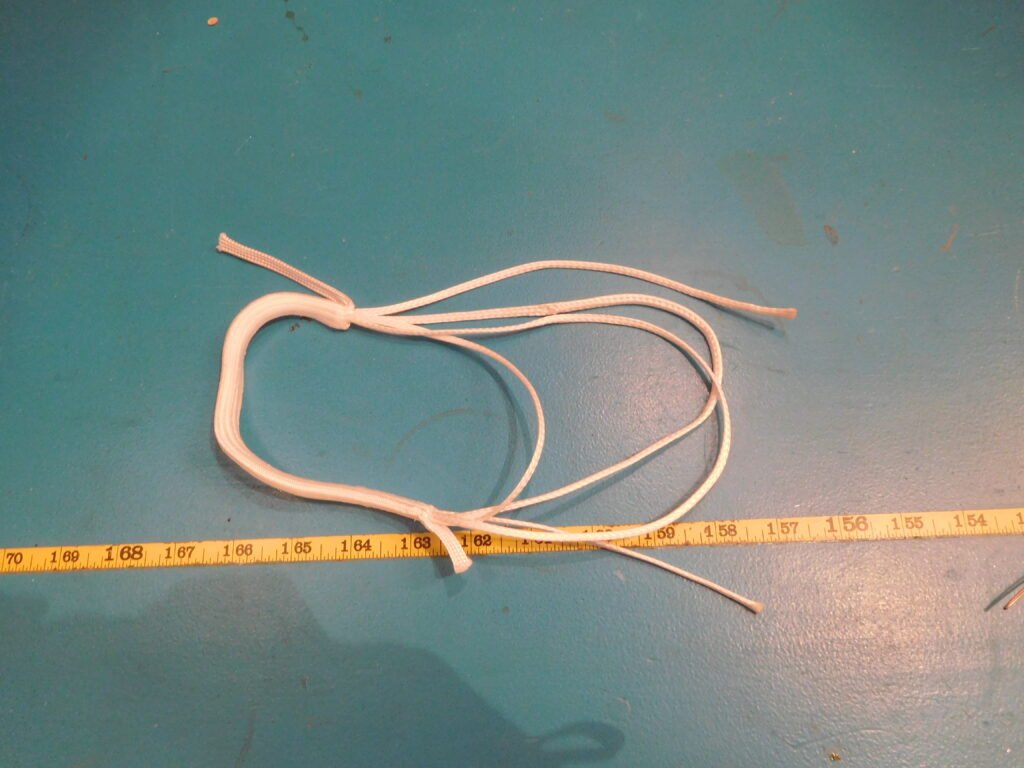
Build the loop as before, but with two equal flaps in the cover. 6-inch flaps will usually do.Taper one flap, starting a healthy inch or so from the extraction point, then taper it again an inch further down.Cut off the strands you plucked out for the taper.Insert the pull fid a few inches back from the extraction point of the second flap. Make sure it comes out where the core passes do, without snagging cover strands.Bury that first tapered flap.Tug on the tail you just buried, and milk the cover around until the crossover overlaps. I like to overlap by an inch, but as long as you can’t see core, mission accomplished. More than an inch, and you’re wasting material and making your loop more bulky.Taper the second tail the same way you did the first.Bury it, being careful not to snag either core strands or anything else.Tug on the tails and milk the cover around until the crossover looks nice.If you want to, you can taper the tails again….…and bury them some more. Repeat until you like how smooth it is.Cut the remaining tail bits off, and your loop is ready to lockstitch as you did in the loop above. Carry on scrolling to see yet another closure method.This one requires starting with no flaps at all–just dive in and out the ends of the cover.The loop is made the same way as always. Some things never change.Tape one end down. If you flay out the strands for an inch or so before taping, they’ll lie flatter and give the illusion of a taper.Milk the cover over the taped spot. It’ll go pretty far over if you did it right.Wrap a piece of tape tightly over the cover where it’s already overlapped the inside tape by an inch.With your smallest fid, unpick the strands all the way back to the tape. Oh my, what a mess!Divide them carefully into four even bundles. This is 32-pick cover, so the bundles are 8 strands each. With the more common 48-pick, it would be 12 strands per bundle; with 24-plait, like most rope cover, you’d do 3 bundles of 8.With a pull fid, bury each bundle of strands a different amount, so the whole shebang tapers. It’s best to bury the first one the farthest.Noodling along…..Once you have all four bundles buried tidily, you can snug up the place where the buries went in by tugging gently on individual strands so the inevitable twists and lumps get worked out.Remove the wrap of tape, and you should have a nearly invisible crossover. Notice how the bundles are buried symmetrically around the cover, and how they all begin at the same “latitude,” rather than staggered along the length. It takes patience and practice to bring out the pull fid where you want it, but it’s worth the effort.The buries have to be whipped; you can’t lock stitch the cover to itself with this method. That means you have to pre-stretch the loop, either before closing the cover, or before clapping on the whipping.Cut off the tails of the bundles, and she’s ready to go.